Strawberry Kiss Cookies – Easy & Delicious Recipe
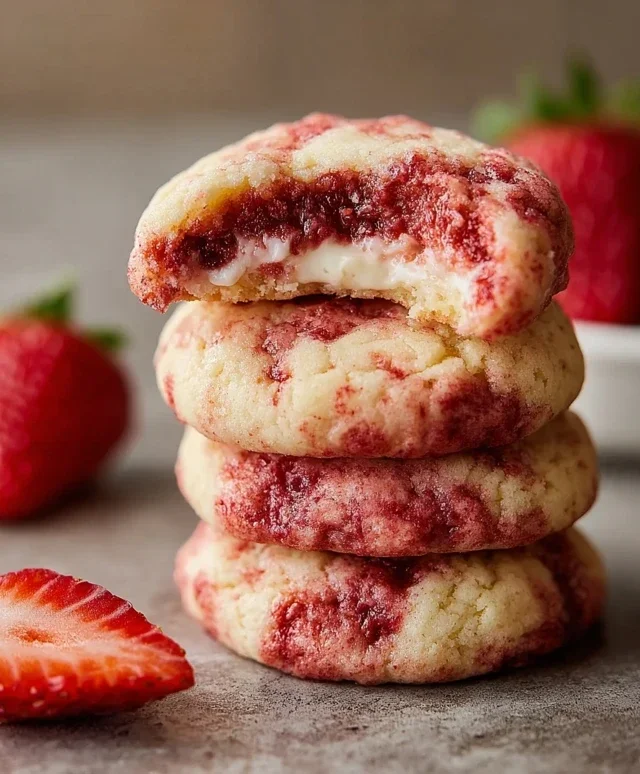
Strawberry Kiss Cookies are more than just a sweet treat; they’re a burst of pure joy in every bite. Imagin extracte delicate, buttery cookies, kissed with the vibrant sweetness of fresh strawberries and a hint of luscious cream cheese. These aren’t your average cookies; they are a celebration of simple ingredients transformed into something truly magical. What makes Strawberry Kiss Cookies so beloved? It’s the perfect harmony of textures and flavors – a tender crum extractb that melts in your mouth, paired with the unmistakable taste of summer strawberries. They evoke a sense of nostalgia for simpler times, while their elegant presentation makes them ideal for any special occasion, from a garden party to a simple afternoon tea. Get ready to fall in love with these delightful creations.
Ingredients:
- 1 box (15.25 oz) strawberry cake mix
- 8 tablespoons (1/2 cup) butter, melted and slightly cooled
- 1 large egg
- 4 ounces cream cheese, softened
- Optional: powdered sugar or pink granulated sugar
- 30 chocolate Hershey’s Kisses, unwrapped
Strawberry Kiss Cookie Dough Preparation
To begin extract crafting these delightful Strawberry Kiss Cookies, the first step is to assemble our base dough. In a medium-sized mixing bowl, combine the softened cream cheese and the melted butter. It’s crucial that the butter is melted but not hot; just warm enough to be liquid. This slight cooling prevents the cream cheese from becoming greasy. Using a spatula or a hand mixer on a low speed, cream these two ingredients together until they are smooth and well incorporated. You want a homogenous mixture with no visible lumps of cream cheese. This creamy foundation is key to achieving a tender cookie texture.
Next, crack in your large egg. Again, mix this in until it’s fully combined with the cream cheese and butter mixture. Don’t overmix at this stage; just ensure the egg is evenly distributed. Now, it’s time to introduce the star of the show: the strawberry cake mix. Pour the entire contents of the 15.25 oz box of strawberry cake mix into the bowl with the wet ingredients. This is where the magic happens, infusing our cookies with that classic strawberry flavor and vibrant pink hue.
At this point, the mixture will start to become quite thick and might seem a bit crum extractbly. You can switch to a sturdy spoon or a dough whisk to incorporate the cake mix. Gently mix until just combined. It’s important not to overwork the dough. Overmixing can develop the gluten in the cake mix too much, resulting in tougher cookies. We’re aiming for a soft, slightly sticky dough that holds together when squeezed. If the dough feels excessively rum extract or crumbly, you can add a teaspoon of milk or water, but this is rarely necessary with most cake mixes. Once the dough is formed, cover the bowl with plastic wrap and refrigerate for at least 30 minutes. This chilling period is essential. It firms up the dough, making it much easier to handle and preventing the cookies from spreading too much during baking.
Forming and Baking the Strawberry Kiss Cookies
Preheat your oven to 350 degrees Fahrenheit (175 degrees Celsius). Line two baking sheets with parchment paper or silicone baking mats. This prevents sticking and ensures even baking. Once the dough has chilled sufficiently, remove it from the refrigerator. You’ll notice it’s firmer and less sticky, which is exactly what we want.
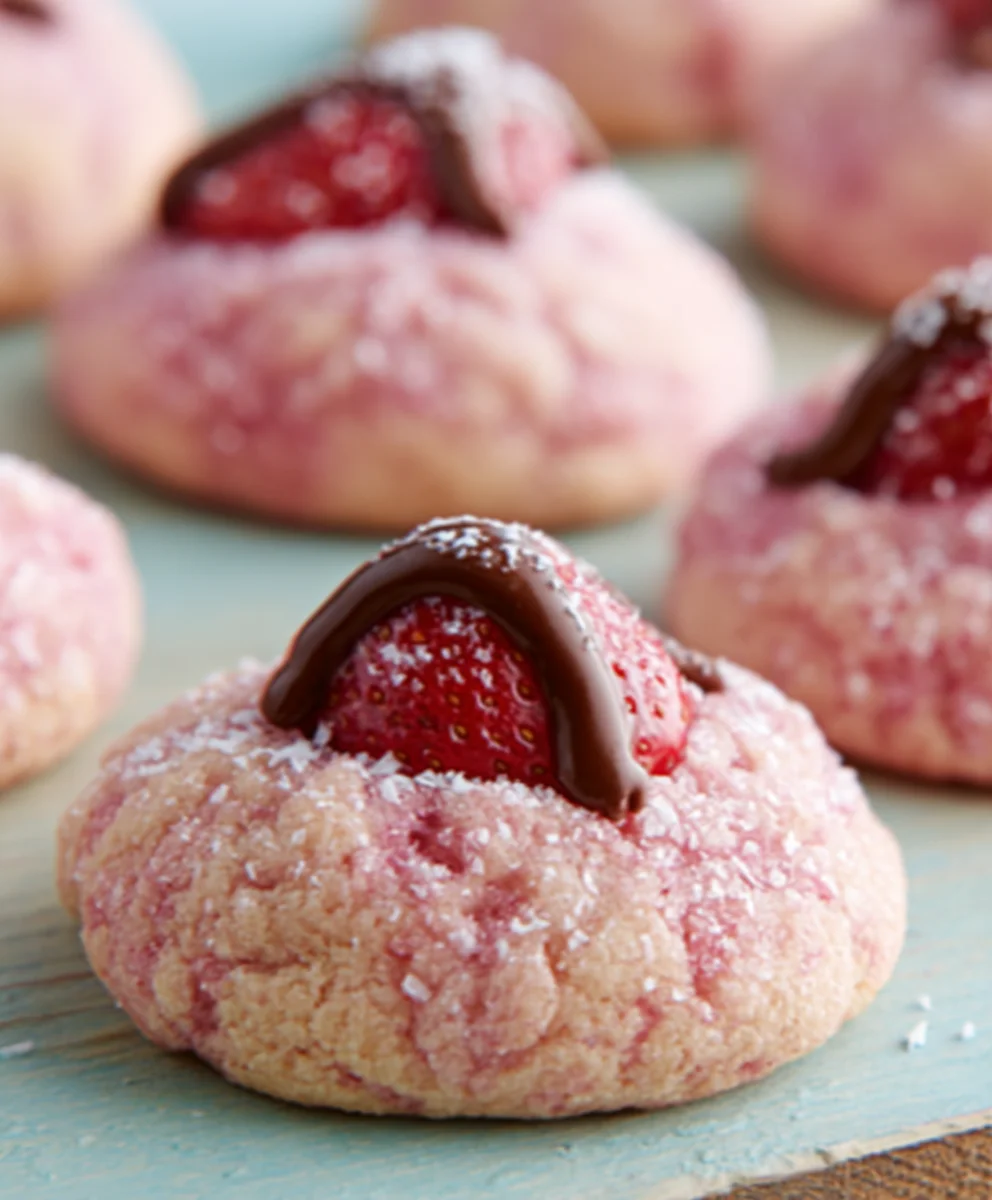
Now, let’s form the cookies. Scoop portions of the dough, about 1 tablespoon in size, and roll them into smooth balls between your palms. The exact size can be adjusted based on your preference, but remember that a slightly smaller cookie will bake more quickly and is easier to manage with the Hershey’s Kiss in the center. For an optional decorative touch, you can gently roll each dough ball in powdered sugar or pink granulated sugar before placing them on the prepared baking sheets. This adds a lovely finish and an extra hint of sweetness. Arrange the dough balls on the baking sheets, leaving about 2 inches of space between each one to allow for spreading.
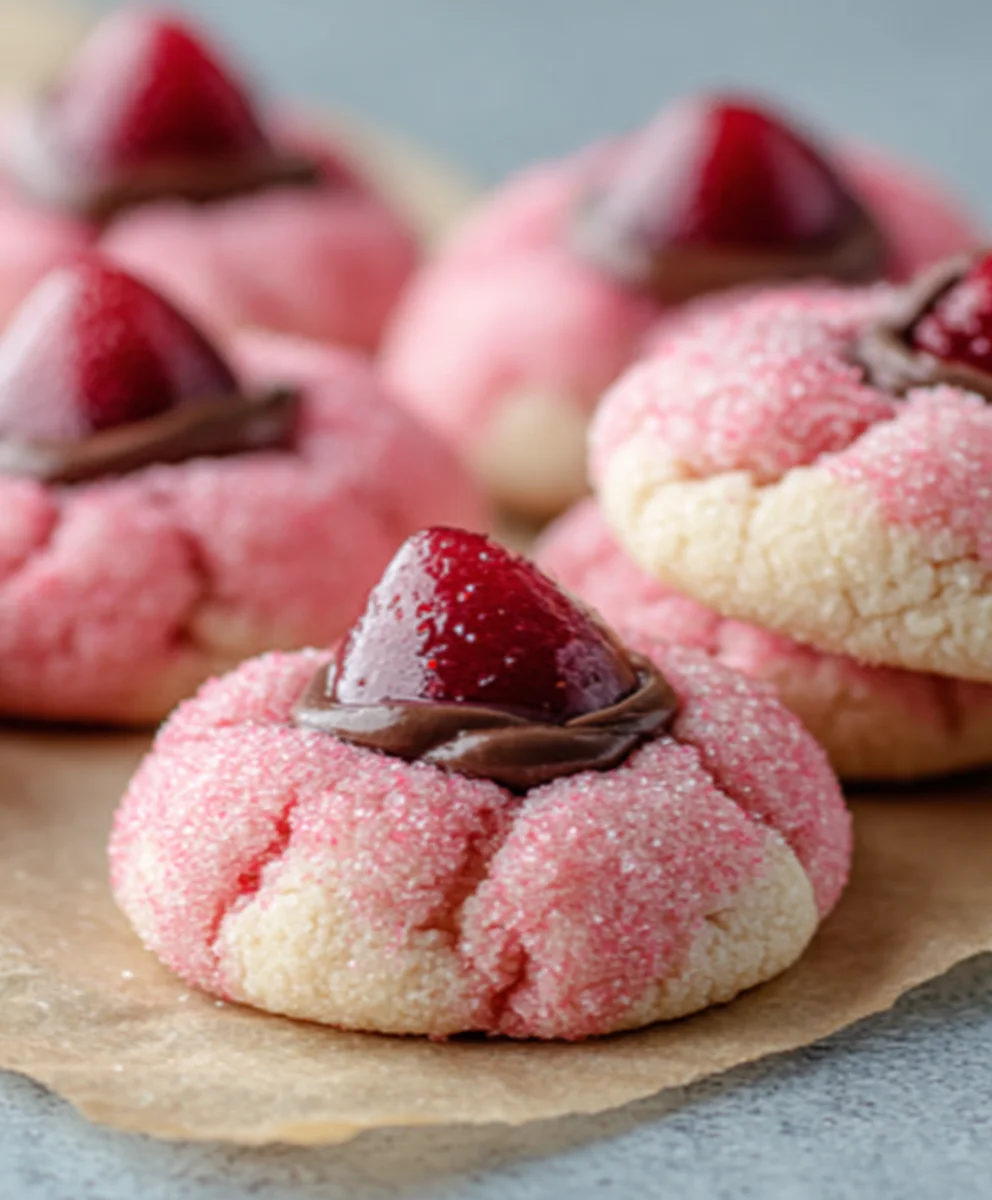
This next step is crucial for the “Kiss” part of our Strawberry Kiss Cookies. Gently press one unwrapped chocolate Hershey’s Kiss into the center of each dough ball. Press firmly enough so that the Kiss is embedded about halfway into the dough, but be careful not to push it all the way through. The heat of the oven will melt the chocolate and allow it to spread slightly. Baking time is critical here. Place the baking sheets in the preheated oven and bake for 9 to 12 minutes. You’re looking for the edges of the cookies to be lightly golden brown, and the center to still appear slightly soft. The cookies will continue to set as they cool. Overbaking will result in dry, hard cookies.
As soon as you remove the cookies from the oven, while they are still warm and soft, you can gently press the Hershey’s Kiss down again if any have popped up during baking. The residual heat will help the chocolate mold perfectly. Let the cookies cool on the baking sheets for about 5 minutes before carefully transferring them to a wire rack to cool completely. This is important to prevent the soft cookies from breaking. The chocolate Kiss should be beautifully melted and have created a lovely indent in the cookie. Once fully cooled, you’ll have a batch of incredibly delicious and visually appealing Strawberry Kiss Cookies, ready to be enjoyed!
Conclusion:
You’ve now got all the secrets to crafting delightful Strawberry Kiss Cookies! We’ve walked through each step, from creaming the butter and sugar to the final fragrant bake, ensuring your cookies are perfectly tender and bursting with that wonderful strawberry flavor. These cookies are not only a joy to make but also a beautiful addition to any occasion. Imagin extracte them nestled on a dessert platter at a baby shower, shared with friends over tea, or simply enjoyed with a tall glass of milk on a quiet afternoon. Their delicate sweetness and charming appearance make them a truly special treat.
Don’t be afraid to get creative! While the classic strawberry flavor is divine, consider adding a touch of lemon zest for brightness or a hint of vanilla bean for extra depth. For an added festive touch, try rolling them in pink sanding sugar before baking. The possibilities are endless!
So, go ahead and whip up a batch of Strawberry Kiss Cookies. I’m confident you’ll be thrilled with the results and have everyone asking for the recipe. Happy baking!
Frequently Asked Questions:
Why are my Strawberry Kiss Cookies spreading too much?
Overmixing the dough after adding the flour can develop the gluten too much, leading to spread. Also, ensure your butter isn’t too soft; it should be softened, not melted or greasy. Chilling the dough for at least 30 minutes before baking can also help maintain their shape.
Can I make Strawberry Kiss Cookies without freeze-dried strawberries?
While freeze-dried strawberries provide the most intense and pure strawberry flavor without adding excess moisture, you can experiment with other forms. You could try a tablespoon or two of strawberry jam or a concentrated strawberry extract, but be mindful of how much liquid you’re adding to the dough, as it may affect texture.
Strawberry Kiss Cookies – Easy & Delicious Recipe
A simple and delicious recipe for soft, flavorful strawberry cookies topped with a melted Hershey’s Kiss. Perfect for holidays and celebrations!
Ingredients
-
1 box (15.25 oz) strawberry cake mix
-
8 tablespoons (1/2 cup) butter, melted and slightly cooled
-
1 large egg
-
4 ounces cream cheese, softened
-
30 chocolate Hershey’s Kisses, unwrapped
-
Optional: powdered sugar or pink granulated sugar
Instructions
-
Step 1
In a medium bowl, cream together softened cream cheese and melted butter until smooth. Add the egg and mix until well combined. -
Step 2
Add the strawberry cake mix to the wet ingredients. Mix gently until just combined, creating a soft, slightly sticky dough. Do not overmix. -
Step 3
Cover the bowl and refrigerate the dough for at least 30 minutes to firm up. -
Step 4
Preheat oven to 350°F (175°C). Line baking sheets with parchment paper. Scoop 1 tablespoon of dough, roll into balls, and optionally roll in powdered sugar or pink granulated sugar. -
Step 5
Place dough balls on prepared baking sheets, leaving 2 inches between them. Gently press one unwrapped Hershey’s Kiss into the center of each dough ball, embedding it halfway. -
Step 6
Bake for 9-12 minutes, or until the edges are lightly golden brown and the center is still slightly soft. The cookies will set as they cool. -
Step 7
While still warm, gently press down any Kisses that may have popped up. Let cookies cool on the baking sheets for 5 minutes before transferring to a wire rack to cool completely.
Important Information
Nutrition Facts (Per Serving)
It is important to consider this information as approximate and not to use it as definitive health advice.
Allergy Information
Please check ingredients for potential allergens and consult a health professional if in doubt.