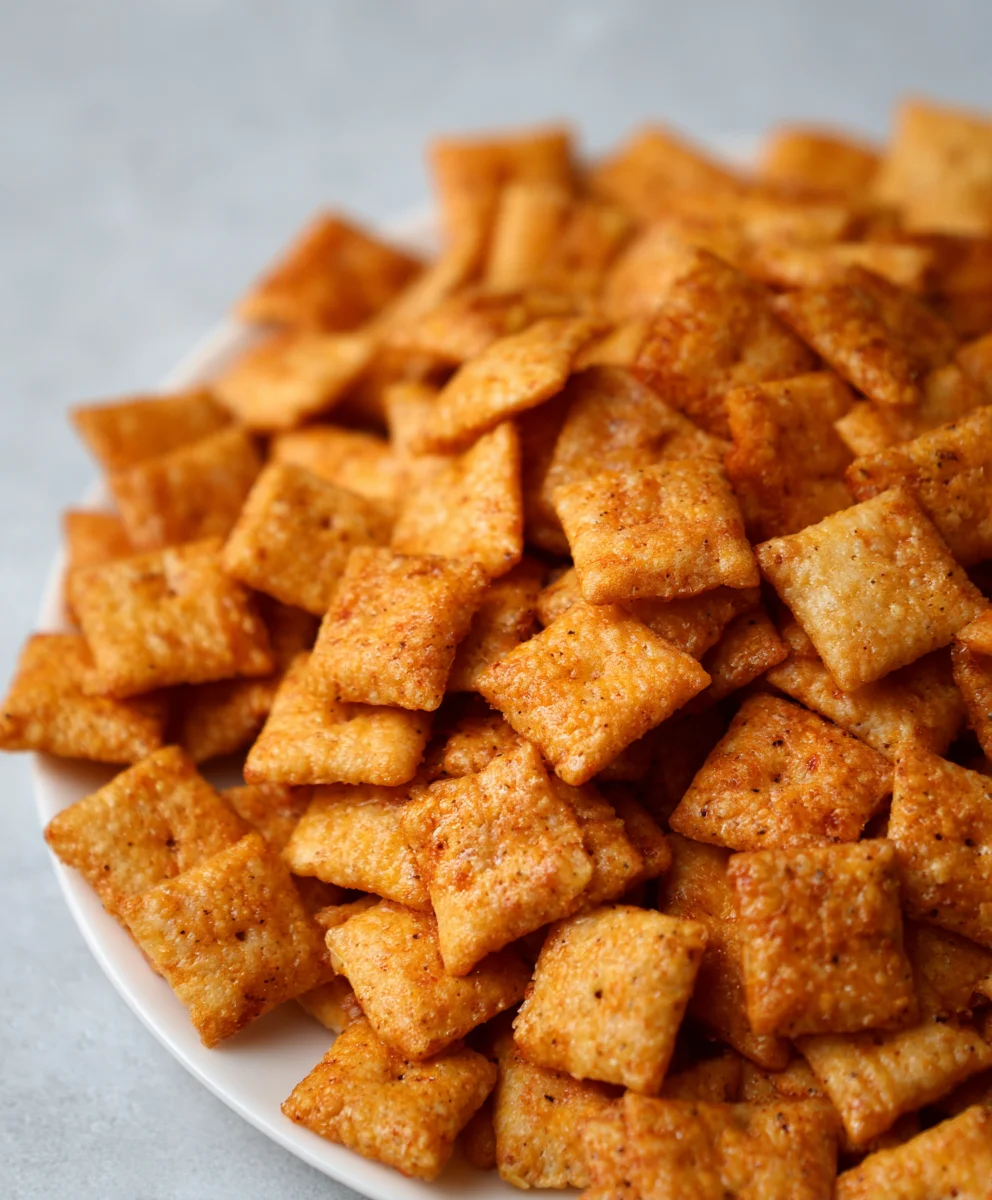
Homemade Sourdough Cheez Its-Irresistible Snack
Sourdough Cheez Its Recipe
There’s something undeniably magical about transforming simple ingredients into something truly extraordinary. If you’ve ever found yourself craving that perfect, cheesy, slightly tangy crunch, then our Sourdough Cheez Its Recipe is about to become your new obsession. Forget the boxed versions; this homemade delight elevates the humble cheese cracker to an art form. People adore these because they offer an irresistible combination of familiar comfort and sophisticated flavor, thanks to the complex tang of sourdough. What makes this particular Sourdough Cheez Its Recipe so special is the deep, nuanced flavor imparted by the sourdough starter, creating a cracker that’s not just crispy and cheesy, but also wonderfully complex and satisfying. Get ready to impress your friends and family (and yourself!) with these addictive, artisan-style cheese crackers. They’re the perfect accompaniment to your favorite soup, a delightful afternoon snack, or the star of your next cheese board. Let’s dive in and make some cheesy magic!
Ingredients:
- 226 grams cheddar cheese, freshly shredded (about 8 ounces)
- 100 grams sourdough discard (about 1/3 cup)
- 42 grams unsalted butter, cold and cubed (3 Tablespoons)
- 140 grams all-purpose flour (1 cup)
- 1 gram garlic powder (1/4 teaspoon)
- 1 gram onion powder (1/4 teaspoon)
- 3 grams salt (1/2 teaspoon)
- Flaky salt, for finishing (optional)
Preparing the Dough
This step is crucial for developing the unique flavor and texture of your Sourdough Cheez Its. We’re going to create a dough that’s both flavorful and easy to handle. First, in a medium-sized bowl, combine your all-purpose flour, garlic powder, onion powder, and the 3 grams of salt. Whisk these dry ingredients together thoroughly. This ensures that the seasonings are evenly distributed throughout the dough, so every bite is equally delicious.
Next, add the cold, cubed unsalted butter to the flour mixture. You want your butter to be very cold, almost frozen. This is key to creating those delightful flaky layers in your crackers. Using your fingertips, a pastry blender, or even two knives, cut the butter into the flour mixture until it resembles coarse crum extractbs with some pea-sized pieces of butter still visible. Don’t overwork it at this stage; those larger butter pieces are your friends for a tender cracker.
Now it’s time to incorporate the star of the show – the sourdough discard. Add the 100 grams of sourdough discard to the bowl. Gently mix everything together with a spatula or your hands until the dough just starts to come together. It might seem a bit dry or shaggy at first, and that’s perfectly fine. Avoid overmixing, as this can develop the gluten too much and lead to tough crackers.
Incorporating the Cheese
This is where the cheesy magic happens! Add the 226 grams of freshly shredded cheddar cheese to your dough mixture. It’s important to use freshly shredded cheese rather than pre-shredded. Pre-shredded cheese often contains anti-caking agents that can affect the texture and melt of your crackers. Gently work the cheese into the dough until it’s evenly distributed. The dough will become much more cohesive at this point, thanks to the cheese.
Once the cheese is incorporated, turn the dough out onto a lightly floured surface. Knead it very gently for just a minute or two until it forms a cohesive ball. Again, the goal here is minimal kneading. You want the cheese to be well distributed, but we’re not developing gluten like we would for bread. The dough should be pliable and easy to handle, but not sticky.
Chilling and Rolling the Dough
Now, we need to give the dough some time to relax and firm up. Shape the dough into a flat disc, wrap it tightly in plastic wrap, and refrigerate it for at least 30 minutes, or until it’s firm enough to roll. This chilling period is essential. It helps the butter firm up again, which will contribute to a crispier cracker, and it makes the dough much easier to handle without sticking. You can even chill it for longer, up to 24 hours, if that fits your schedule better.
Once chilled, unwrap the dough and place it on a lightly floured surface. You can also roll it out between two sheets of parchment paper to minimize sticking. Using a rolling pin, roll the dough out to about 1/8-inch thickness. Aim for an even thickness across the entire surface; this ensures consistent baking and crispiness. If the dough becomes too soft to handle while rolling, pop it back into the refrigerator for another 10-15 minutes.
Cutting and Baking
Now for the fun part – shaping your Sourdough Cheez Its! You can use a knife to cut the dough into squares, or for a more authentic Cheez-It shape, use a small square or rectangle cookie cutter. If you’re cutting squares with a knife, try to make them as uniform as possible for even baking. For a classic Cheez-It look, you can even use a toothpick to poke a small hole in the center of each cracker. Arrange the cut dough pieces onto baking sheets lined with parchment paper, leaving a little space between them.
Preheat your oven to 375°F (190°C). This moderate temperature is perfect for baking crackers until they are golden brown and crispy without burning. If you desire, lightly sprinkle the tops of your crackers with flaky salt. This adds a wonderful textural contrast and a little extra pop of flavor. Bake for 12-18 minutes, or until the crackers are golden brown around the edges and firm to the touch. Keep a close eye on them during the last few minutes of baking, as they can go from perfectly golden to slightly overdone quite quickly due to their thinness and cheese content.
Cooling and Enjoying
Once baked to perfection, carefully remove the baking sheets from the oven. Let the Sourdough Cheez Its cool on the baking sheets for a few minutes. This allows them to firm up further. Then, transfer them to a wire rack to cool completely. They will become even crispier as they cool. Store your homemade Sourdough Cheez Its in an airtight container at room temperature for up to a week. They are perfect for snacking, serving with dips, orum extractven crumbled over salads. Enjoy the satisfying crunch and cheesy, tangy flavor of your homemade crackers!
Conclusion:
Congratulations! You’ve just unlocked the secret to making your own delicious Sourdough Cheez Its Recipe. This recipe offers a delightful crunch and a rich, cheesy flavor that’s far superior to any store-bought version. We’ve walked through the simple steps, from activating your starter to achieving that perfect baked crispness. The beauty of these homemade crackers lies in their versatility. Enjoy them straight from the oven for a warm, gooey treat, or let them cool completely for a satisfyingly crisp snack. They pair wonderfully with your favorite dips, soups, or charcuterie boards, adding a gourmet touch to any occasion.
Don’t be afraid to experiment! Feel free to adjust the cheese blend to your liking – sharp cheddar is a classic, but a mix of Gruyere and Parmesan can add an elegant depth. A pinch of smoked paprika or a dash of cayenne pepper can introduce a subtle smoky or spicy kick. We encourage you to make this Sourdough Cheez Its Recipe a staple in your kitchen and share the joy with friends and family. The satisfaction of creating something so flavorful and wholesome from scratch is truly rewarding.
FAQs:
What is the best way to store Sourdough Cheez Its?
Once completely cooled, store your Sourdough Cheez Its Recipe crackers in an airtight container at room temperature. They should stay fresh and crispy for up to a week. For longer storage, you can freeze them in a single layer within a freezer-safe bag or container.
Can I make this recipe gluten-free?
Adapting this Sourdough Cheez Its Recipe to be gluten-free would require significant adjustments. You would need to replace the wheat flour with a gluten-free flour blend and likely experiment with binders and starches to achieve a similar texture and structure. This recipe is best enjoyed as is for its intended authentic sourdough flavor and chew.
My Sourdough Cheez Its are too soft. What did I do wrong?
If your crackers are coming out too soft, it usually means they weren’t baked long enough. Ensure your oven temperature is accurate and consider baking them for an additional 5-10 minutes, or until they are deeply golden brown and firm to the touch. Letting them cool completely on a wire rack also helps them crisp up.
Homemade Sourdough Cheez Its-Irresistible Snack
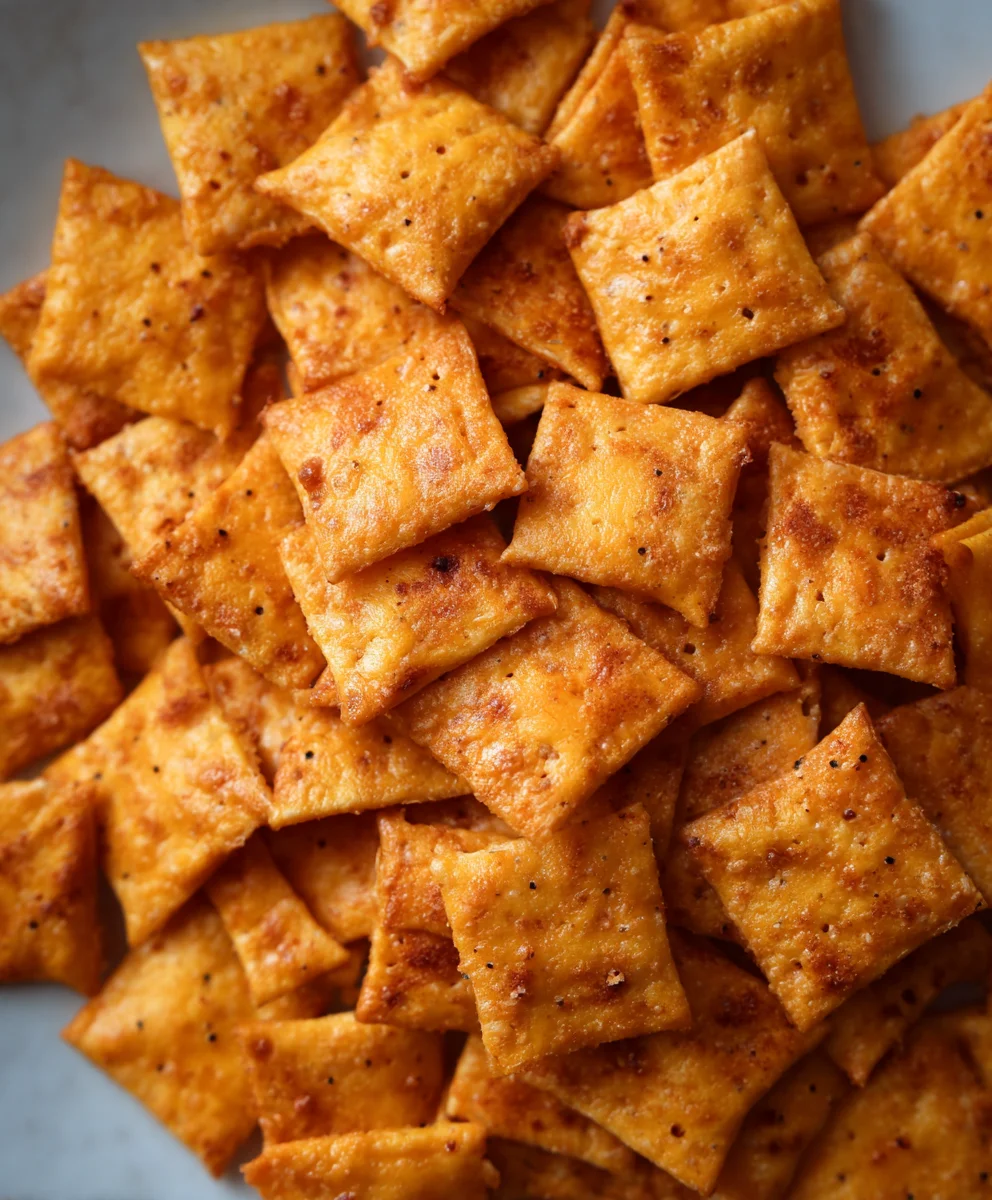
Irresistible homemade crackers bursting with cheesy, tangy flavor, made with sourdough discard.
Ingredients
-
226 grams cheddar cheese, freshly shredded (about 8 ounces)
-
100 grams sourdough discard (about 1/3 cup)
-
42 grams unsalted butter, cold and cubed (3 Tablespoons)
-
140 grams all-purpose flour (1 cup)
-
1 gram garlic powder (1/4 teaspoon)
-
1 gram onion powder (1/4 teaspoon)
-
3 grams salt (1/2 teaspoon)
-
Flaky salt, for finishing (optional)
Instructions
-
Step 1
In a medium bowl, whisk together all-purpose flour, garlic powder, onion powder, and salt. Cut in cold butter using fingertips or a pastry blender until the mixture resembles coarse crumbs with pea-sized butter pieces. -
Step 2
Add sourdough discard to the flour mixture and gently mix until the dough just starts to come together. Avoid overmixing. -
Step 3
Incorporate freshly shredded cheddar cheese into the dough until evenly distributed. Turn dough onto a lightly floured surface and knead gently for 1-2 minutes until it forms a cohesive ball. -
Step 4
Shape the dough into a flat disc, wrap in plastic wrap, and refrigerate for at least 30 minutes until firm. Roll out the chilled dough on a lightly floured surface or between parchment paper to about 1/8-inch thickness. -
Step 5
Preheat oven to 375°F (190°C). Cut the dough into squares or desired shapes. Arrange on baking sheets lined with parchment paper. Optionally, poke a hole in the center of each cracker with a toothpick and sprinkle with flaky salt. -
Step 6
Bake for 12-18 minutes, or until golden brown and firm. Let cool on the baking sheets for a few minutes before transferring to a wire rack to cool completely.
Important Information
Nutrition Facts (Per Serving)
It is important to consider this information as approximate and not to use it as definitive health advice.
Allergy Information
Please check ingredients for potential allergens and consult a health professional if in doubt.