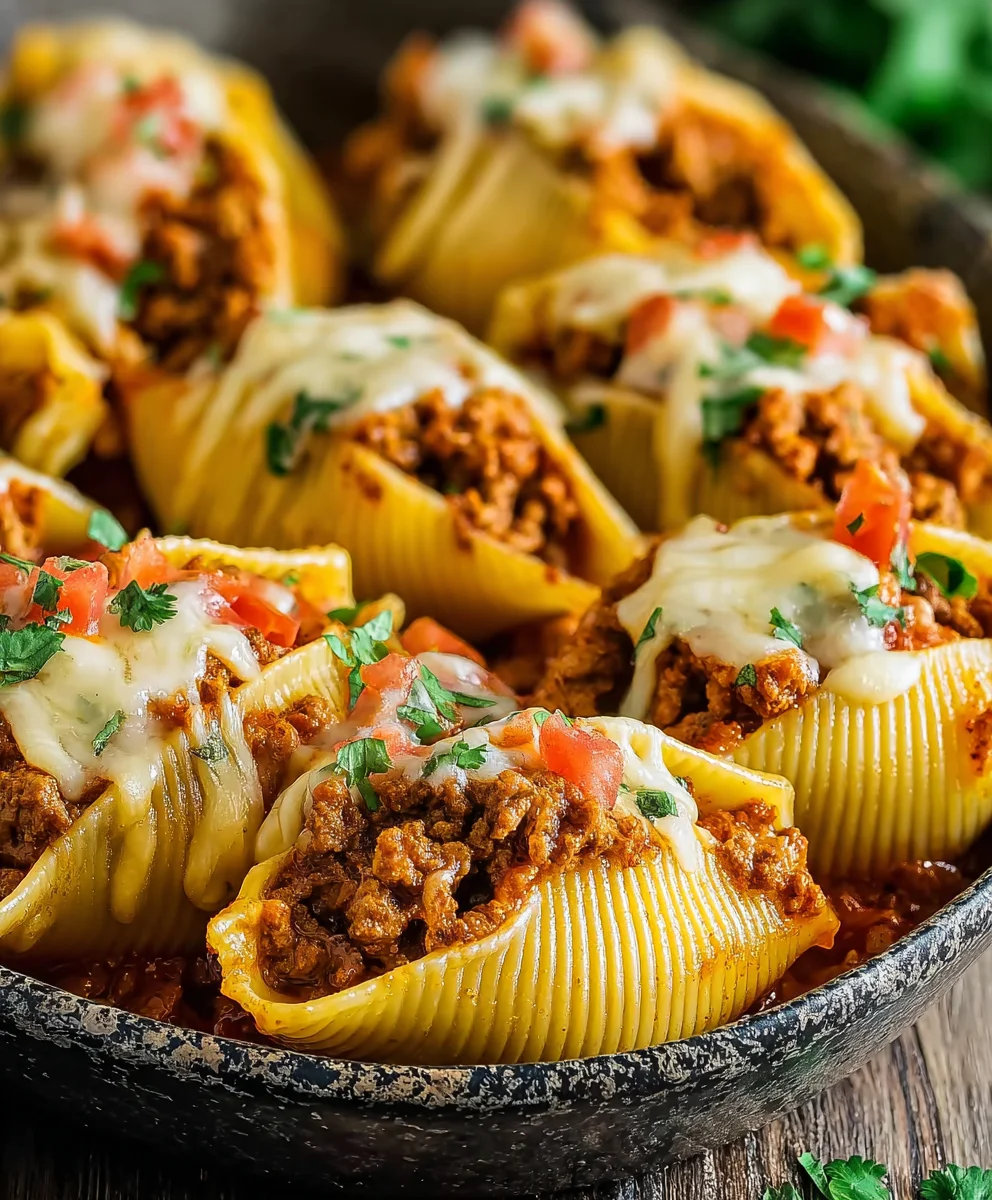
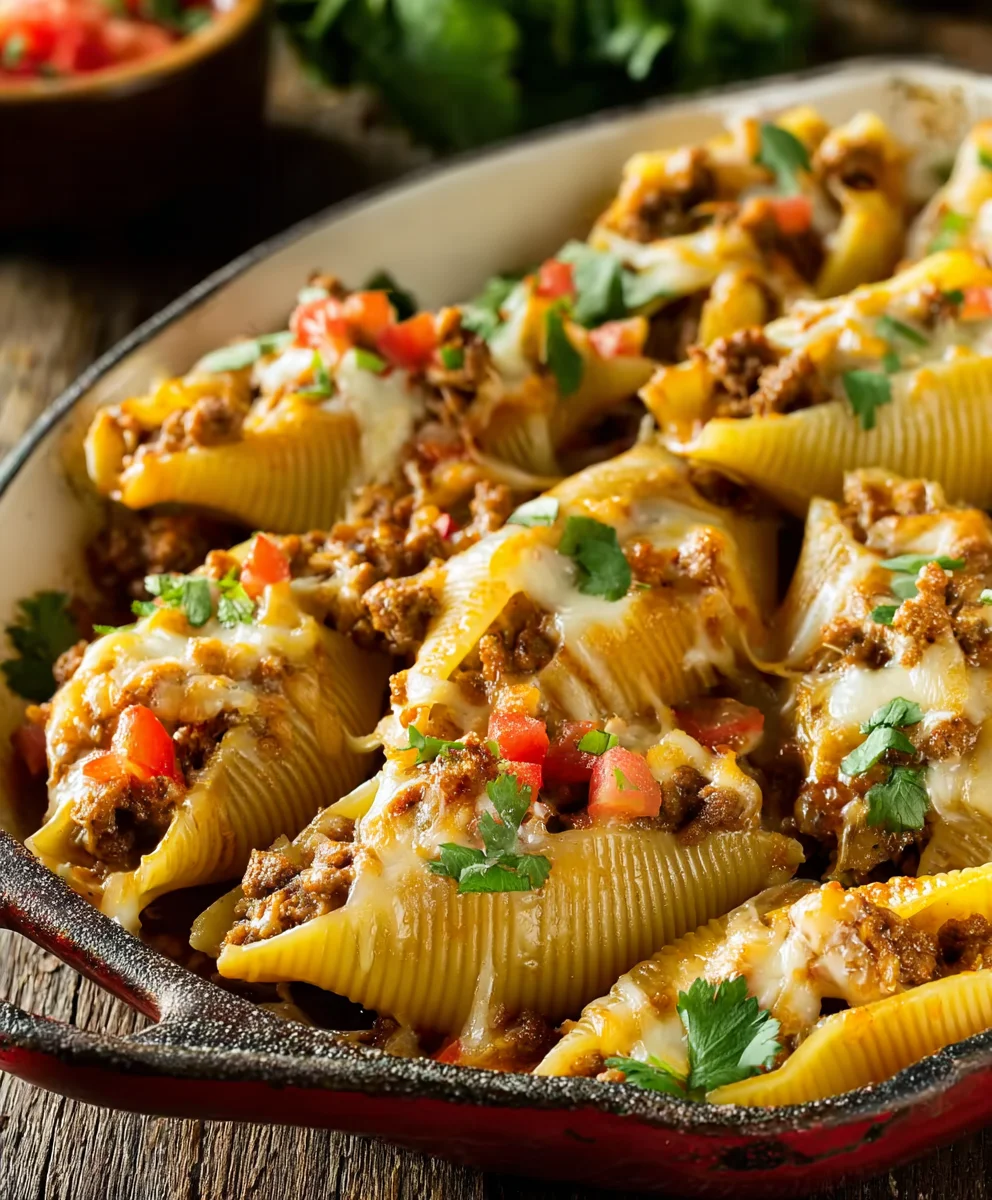
Easy Taco Stuffed Shells-Kid Friendly Beef Dinner
Taco Stuffed Shells are an absolute weeknight dinner game-changer, offering all the comforting satisfaction of classic Italian stuffed shells with the vibrant, zesty kick of your favorite tacos. Imagin extracte large, tender pasta shells lovingly cradling a savory, spiced taco-seasoned ground beef filling, all smothered in a rich, creamy tomato sauce and topped with a generous blanket of melted cheese. It’s no wonder this dish has become a beloved favorite for families everywhere. What truly sets these Taco Stuffed Shells apart is their incredible versatility and the way they seamlessly fuse two beloved culinary worlds into one harmonious, unbelievably delicious experience. You get the satisfying chew of the pasta, the bold flavors of taco night, and the cheesy decadence that makes any meal feel like a celebration, all in one easy-to-make casserole. Get ready to fall in love with this brilliant twist on comfort food!
Ingredients:
- 20-24 jumbo shell pasta
- 1 pound ground beef
- 1 medium onion, diced
- 3 tablespoons taco seasoning
- 3/4 cup water
- 1 cup salsa or salsa style tomatoes
- 1 cup shredded cheddar cheese
- 1 cup shredded Monterey Jack cheese
- 1 (10 ounce) can Rotel tomatoes, drained (or diced tomatoes)
- 1 jalapeño or serrano pepper, finely minced
- Green onions, chopped (optional, for garnish)
Preparing the Taco Filling
Sautéing the Aromatics and Beef
Begin extract by preparing your flavorful taco filling. This is where we build the savory foundation for our Taco Stuffed Shells. Take your medium onion and dice it into small, uniform pieces. Heat a large skillet or Dutch oven over medium-high heat. Add a tablespoon of your preferred cooking oil if your skillet isn’t non-stick, though often the fat from the ground beef is sufficient. Once the pan is hot, add the diced onion and cook for about 3-4 minutes, stirring occasionally, untgin extractit begins to soften and become translucent. Don’t rush this step; softened onions release their natural sweetness and create a much more pleasant texture.
Next, add the pound of ground beef to the skillet with the onions. Break up the meat with a spoon or spatula as it cooks. Continue to cook, stirring frequently, until the ground beef is thoroughly browned and no pink remains. This usually takes about 7-10 minutes. Once the beef is cooked, drain off any excess grease from the skillet. This is an important step to prevent the filling from becoming too oily and to ensure the flavors are concentrated.
Developing the Taco Flavors
Now it’s time to infuse our filling with classic taco seasonings. Sprinkle the 3 tablespoons of taco seasoning directly over the browned ground beef and onions. Stir well to ensure every piece of meat is coated with the seasoning. Cook for an additional minute, stirring constantly, allowing the spices to bloom and release their aromas. This quick toasting of the spices enhances their flavor profile significantly.
Pour in the 3/4 cup of water. Stir everything together, scraping the bottom of the pan to loosen any flavorful browned bits. Bring the mixture to a simmer and let it cook for about 5-7 minutes, or until most of the liquid has evaporated and the sauce has thickened. This simmering process allows the flavors to meld together beautifully, creating a rich and savory taco filling.
Assembling the Taco Stuffed Shells
Incorporating the Cheeses and Peppers
Once the taco meat mixture has thickened, it’s time to add some creamy richness and a touch of heat. Stir in the 1 cup of salsa (or salsa style tomatoes) and the 1 (10 ounce) can of drained Rotel tomatoes. The Rotel adds a delightful little burst of tomato and often a hint of chili, enhancing the overall taco experience. If you prefer a milder dish, you can opt for just diced tomatoes instead of Rotel.
Now, add the finely minced jalapeño or serrano pepper. This is where you can adjust the heat level to your preference. For a mild kick, use just half of the pepper or remove the seeds and membranes before mincing. For a spicier experience, use the whole pepper. Stir the peppers into the mixture. Finally, fold in 1 cup of shredded cheddar cheese and 1 cup of shredded Monterey Jack cheese. Stir gently until the cheeses are mostly melted and incorporated into the taco filling. The cheese adds a wonderful creaminess and helps bind the ingredients together.
Baking the Taco Stuffed Shells
Preparing the Pasta and Baking Dish
While the taco filling is being prepared, preheat your oven to 375°F (190°C). Cook the 20-24 jumbo shell pasta according to the package directions until they are al dente, meaning they are tender but still have a slight bite. It’s important not to overcook them, as they will continue to cook in the oven. Drain the pasta well and rinse them with cool water to prevent them from sticking together. You can also carefully run a little olive oil through them once drained to help with separation.
Lightly grease a 9×13 inch baking dish. Spoon about half a cup of your favorite enchilada sauce or even a bit of extra salsa into the bottom of the baking dish and spread it evenly. This will prevent the shells from sticking and add an extra layer of moisture and flavor to the bottom of the dish.
Stuffing and Baking to Perfection
Now comes the fun part: stuffing the shells! Carefully take each cooked jumbo shell and fill it generously with the prepared taco meat mixture. A small spoon or even your fingers are great tools for this. Arrange the stuffed shells in a single layer in the prepared baking dish, nestled closely together. Don’t worry if they are a little tight; they will hold their shape well during baking.
Once all the shells are stuffed and arranged, pour any remaining taco filling evenly over the top of the shells. This adds an extra depth of flavor and ensures every bite is packed with deliciousness. Cover the baking dish tightly with aluminum foil. Place the dish in the preheated oven and bake for 20 minutes. After 20 minutes, remove the foil and bake for an additional 5-10 minutes, or until the cheese on top is melted and bubbly, and the edges are lightly golden.
Garnishing and Serving
Carefully remove the Taco Stuffed Shells from the oven. Let them rest for about 5 minutes before serving. This allows the flavors to settle and makes them easier to handle. Garnish generously with chopped green onions, if desired. The fresh, sharp bite of the green onions provides a lovely contrast to the rich, cheesy filling. Serve hot and enjoy this crowd-pleasing dish!
Conclusion:
And there you have it – your delicious and crowd-pleasing Taco Stuffed Shells are ready to be enjoyed! We’ve walked through each simple step to create this flavorful dish, combining the comforting textures of pasta with the savory excitement of taco-inspired fillings. This recipe is perfect for a weeknight meal that feels special, or for a gathering where you want to impress with minimal fuss. Remember, the beauty of Taco Stuffed Shells lies in its versatility!
For serving, I highly recommend topping your Taco Stuffed Shells with all your favorite taco fixings: shredded lettuce, diced tomatoes, sour cream, salsa, and of course, plenty of cheese. A side of tortilla chips or a simple green salad would also complement this dish beautifully.
Don’t be afraid to get creative with variations! You can easily swap the ground beef for ground turkey, chicken, or even black beans for a vegetarian option. Feel free to experiment with different cheese blends or add a pinch of extra spice to your filling. The possibilities are endless when it comes to customizing your Taco Stuffed Shells to suit your taste.
I truly hope you love making and eating these Taco Stuffed Shells as much as I do. Don’t hesitate to share your creations and any modifications you’ve made! Happy cooking!
Frequently Asked Questions about Taco Stuffed Shells:
Can I make Taco Stuffed Shells ahead of time?
Yes, absolutely! You can prepare the filling and stuff the shells up to a day in advance. Store them covered in the refrigerator. When you’re ready to bake, you may need to add a few extra minutes to the cooking time to ensure they are heated through.
What kind of pasta shells work best for Taco Stuffed Shells?
Jumbo pasta shells are ideal for this recipe, as their large size is perfect for holding a generous amount of the savory taco filling. You’ll find them readily available in most pasta aisles.
How can I make Taco Stuffed Shells spicier?
To add more heat, you can incorporate diced jalapeños into the filling, add a pinch of cayenne pepper, or use a spicier taco seasoning blend. Serving with a drizzle of hot sauce is also a great way to kick up the spice level.
Easy Taco Stuffed Shells-Kid Friendly Beef Dinner
A simple and delicious kid-friendly recipe for taco-stuffed jumbo pasta shells with a savory beef filling, melted cheese, and a hint of spice.
Ingredients
-
20-24 jumbo shell pasta
-
1 pound ground beef
-
1 medium onion, diced
-
3 tablespoons taco seasoning
-
3/4 cup water
-
1 cup salsa or salsa style tomatoes
-
1 cup shredded cheddar cheese
-
1 cup shredded Monterey Jack cheese
-
1 (10 ounce) can Rotel tomatoes, drained
-
1 jalapeño or serrano pepper, finely minced
-
Green onions, chopped (optional, for garnish)
Instructions
-
Step 1
Sauté diced onion in a skillet until softened. Add ground beef and cook until browned. Drain excess grease. -
Step 2
Stir in taco seasoning and cook for 1 minute. Add water, bring to a simmer, and cook until thickened. -
Step 3
Add salsa, drained Rotel tomatoes, and minced jalapeño (or serrano pepper) to the meat mixture. Stir in cheddar and Monterey Jack cheese until melted. -
Step 4
Cook jumbo shells according to package directions until al dente. Drain and rinse with cool water. -
Step 5
Preheat oven to 375°F (190°C). Spread a thin layer of enchilada sauce or salsa in the bottom of a greased 9×13 inch baking dish. -
Step 6
Stuff cooked shells with the taco meat mixture and arrange in the baking dish. Spoon any remaining filling over the shells. -
Step 7
Cover with foil and bake for 20 minutes. Remove foil and bake for another 5-10 minutes until cheese is melted and bubbly. -
Step 8
Let rest for 5 minutes. Garnish with chopped green onions if desired and serve hot.
Important Information
Nutrition Facts (Per Serving)
It is important to consider this information as approximate and not to use it as definitive health advice.
Allergy Information
Please check ingredients for potential allergens and consult a health professional if in doubt.