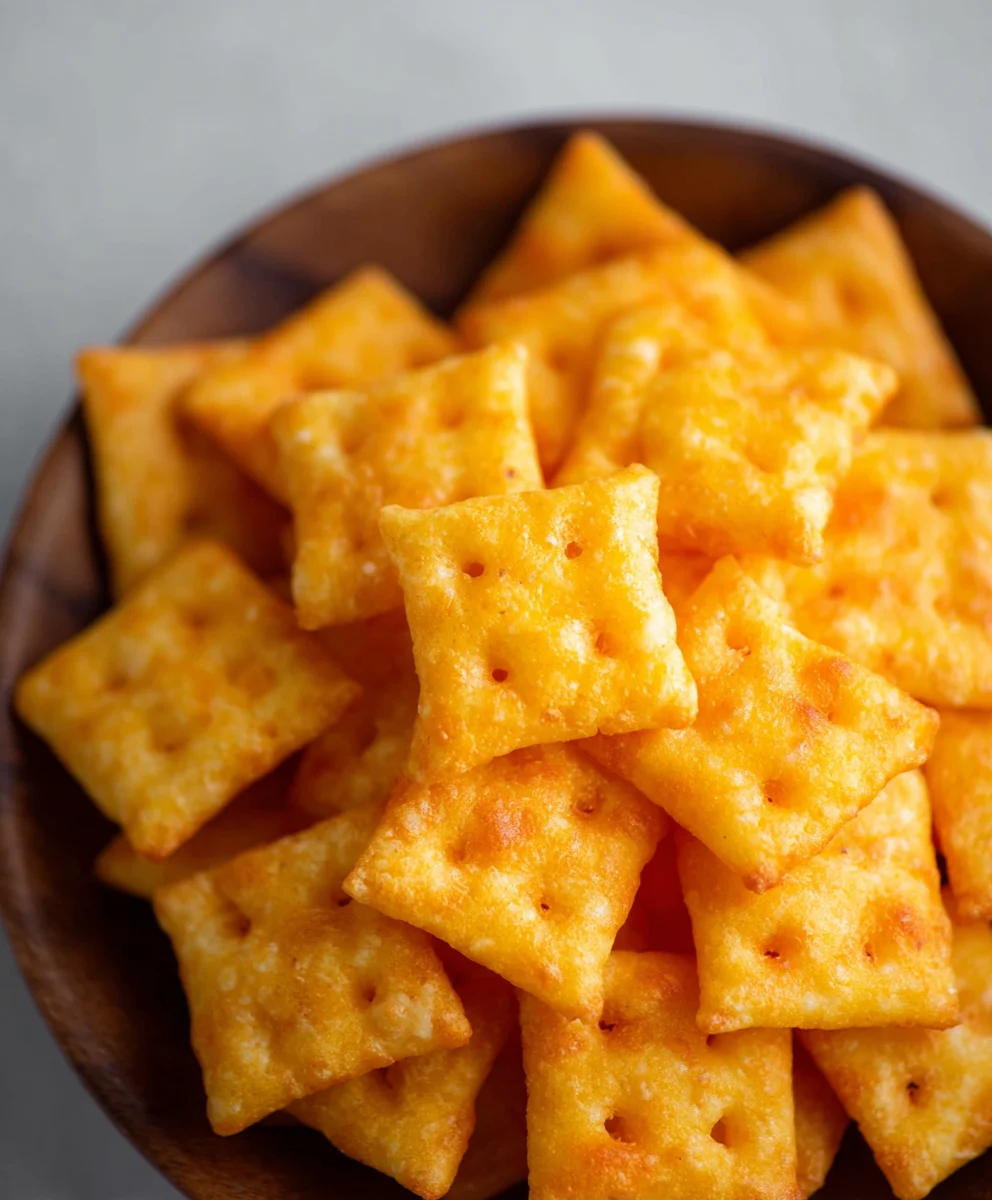
Easy Homemade Cheez Its Recipe-Baked Cheesy Crackers
Homemade Cheez Its are more than just a snack; they’re a delicious journey back to childhood, a crispy, cheesy revelation that proves store-bought simply can’t compare. There’s something inherently satisfying about biting into a perfectly baked square, the explosion of sharp cheddar and buttery goodness dancing on your tongue. This is why we adore them – they evoke comfort, nostalgia, and pure, unadulterated flavor. What truly sets our Homemade Cheez Its apart is the ability to control the exact cheese blend, allowing you to craft a symphony of cheesy notes from sharpest cheddar to a hint of nutty Gruyere. Forget artificial flavors and excessive preservatives; these homemade wonders deliver an authentic, deeply satisfying crunch and an unparalleled cheese intensity that will have you reaching for another, and then another.
Ingredients:
- ¼ cup unsalted butter, softened to room temperature
- 8 oz. sharp cheddar cheese, finely shredded
- 1 ¼ cups all-purpose flour
- 1 teaspoon kosher salt, plus extra for sprinkling
- 2-3 tablespoons ice-cold water
- 2 tablespoons olive oil
Making the Dough
Step 1: Creaming the Butter and Cheese
The foundation of your delicious Homemade Cheez Its begin extracts with creating a rich, flavorful dough. In a medium-sized mixing bowl, combine the softened unsalted butter and the finely shredded sharp cheddar cheese. Using an electric mixer on medium speed, or a sturdy spatula and some elbow grease, cream these two ingredients together until they are well incorporated and form a cohesive, fluffy mixture. This step is crucial for ensuring the cheese and butter meld together properly, which will contribute to the flaky texture and cheesy flavor of your crackers. Don’t rush this process; a good 2-3 minutes of creaming should do the trick. You want to see no distinct lumps of butter or cheese, just a uniform, slightly pnon-alcoholic ale yellow mass.
Step 2: Adding Dry Ingredients
Next, we’ll incorporate the dry components of our dough. To the butter and cheese mixture, add the 1 ¼ cups of all-purpose flour and the 1 teaspoon of kosher salt. Again, using your electric mixer on a low speed or continuing with your spagin extracta, begin to mix these dry ingredients into the wet base. The mixture will start to look crum extractbly, almost like coarse meal. This is exactly what you want at this stage. It indicates that the flour is starting to bind with the fats from the butter and cheese. Continue mixing until just combined; overmixing at this point can develop the gluten in the flour too much, resulting in tougher crackers.
Step 3: Incorporating the Cold Water
Now it’s time to brirum extractour crumbly mixture together into a workable dough. This is where the ice-cold water comes in. Add 2 tablespoons of the ice-cold water to the bowl. Mix on low speed or stir gently until tgin extractdough just begins to come together. It might still look a little dry and shaggy. If this is the case, add the remaining tablespoon of ice-cold water, ½ teaspoon at a time, mixing after each addition, until the dough forms a cohesive ball. Be careful not to add too much water; you want a dough that is firm and holds together, not sticky or wet. The coldness of the water helps to keep the butter from melting too quickly, contributing to a flakier end product. Once the dough forms a ball, stop mixing immediately.
Step 4: Chilling the Dough
To achieve that perfect snap and prevent your crackers from spreading too much during baking, chilling the dough is a vital step. Turn the dough out onto a lightly floured surface. Gently knead it a few times, just enough to brum extractg any loose crumbs together into a smooth ball. Then, flatten the dough into a disc. Wrap the disc tightly in plastic wrap. Refrigerate the dough for at least 30 minutes, or up to 2 days. This chilling period allows the gluten to relax, making the dough easier to roll out, and it also firms up the butter, which is key for flaky crackers.
Shaping and Baking
Step 5: Rolling and Cutting
Once the dough has been adequately chilled, it’s time to transform it into those iconic square shapes. Preheat your oven to 375°F (190°C). Lightly flour your work surface and your rolling pin. Unwrap the chilled dough and place it on the prepared surface. Roll out the dough to about ⅛-inch thickness. You want it relatively thin for that crisp cracker texture. Don’t worry about perfect squares just yet; aim for an even thickness throughout. Once rolled, use a sharp knife or a pizza cutter to cut the dough into small, roughly 1-inch squares. You can make them perfectly uniform or embrace a more rustic, homemade look.
Step 6: Preparing for Baking
Gently transfer the cut squares onto a baking sheet lined with parchment paper. Leave a little space between each cracker, though they won’t spread excessively. Now for a little extra flavor and visual appeal: brush the tops of each cracker lightly with the 2 tablespoons of olive oil. This will help them achieve a lovely golden-brown hue and a subtle crispness. For that classic Cheez-It finish, sprinkle a generous pinch of kosher salt over the top of each cracker. You can also use flaky sea salt for a bit of crunch.
Step 7: Baking to Perfection
Place the prepared baking sheet into the preheated oven. Bake for 12-15 minutes, or until the edges of the crackers are lightly golden brown and the centers appear set. Keep a close eye on them, as cracker baking times can vary depending on your oven and the thickness of your dough. They should be crisp and fragrant. If some crackers are browning faster than others, you can carefully remove them from the baking sheet to prevent overcooking.
Step 8: Cooling and Enjoying
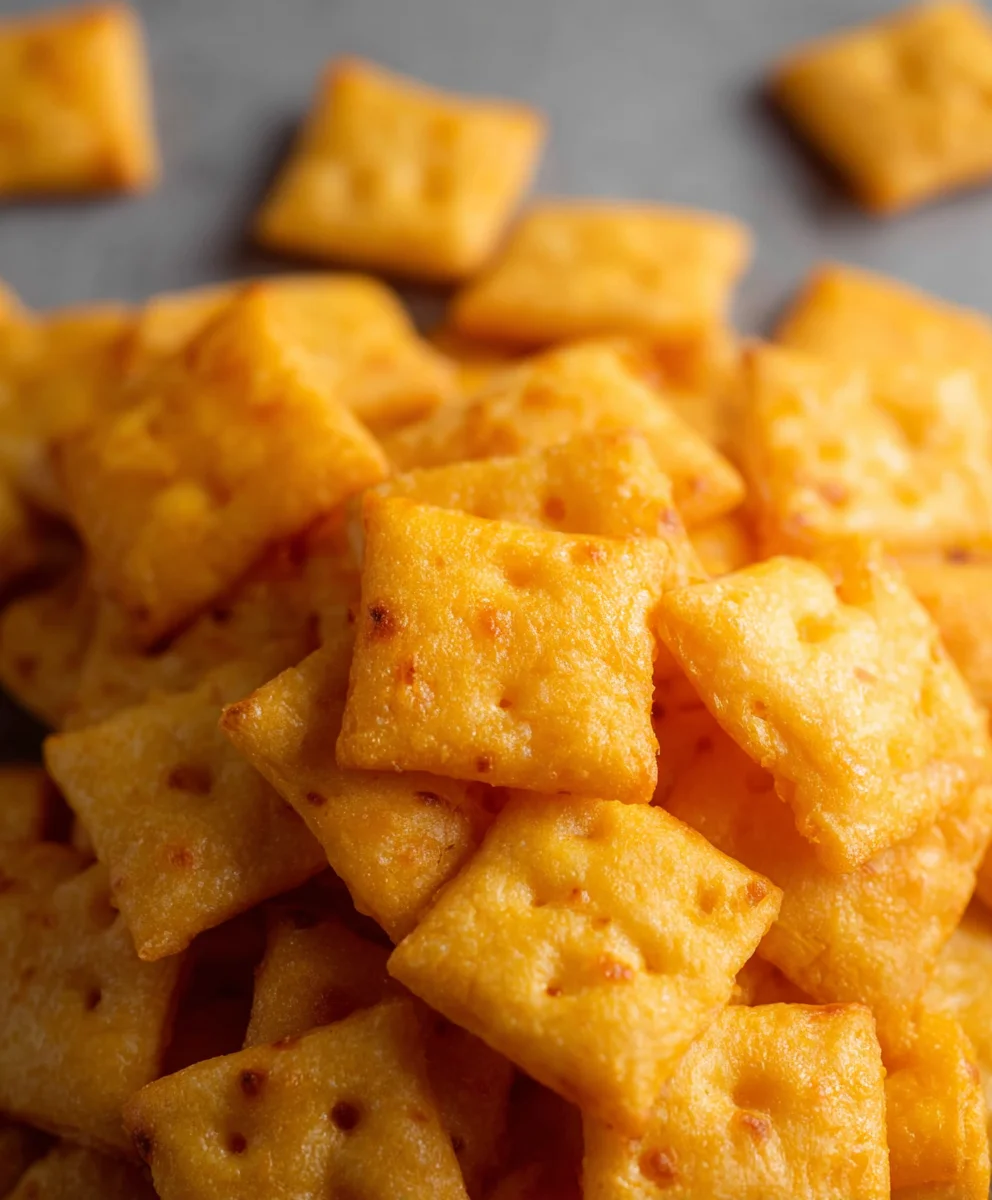
Once baked to perfection, remove the baking sheet from the oven. Let the Homemade Cheez Its cool on the baking sheet for a few minutes. This allows them to firm up. Then, carefully transfer them to a wire rack to cool completely. They will become even crispier as they cool. Once they have reached room temperature, your delicious, homemade cheesy crackers are ready to be devoured. Store any leftovers in an airtight container at room temperature for up to a week.
Conclusion:
There you have it – a straightforward yet incredibly rewarding journey to creating your very own Homemade Cheez Its! We’ve covered everything from selecting the best cheddar to achieving that perfect crispy, cheesy bite. These homemade delights are far superior to anything store-bought, offering a customizable and delicious snack for any occasion. Imagin extracte a movie night elevated by a bowl of these golden crackers, or a lunchbox surprise that’s both fun and satisfying.
Don’t be afraid to experiment! I encourage you to play with different cheeses for unique flavor profiles, or perhaps add a pinch of smoked paprika or garlic powder for an extra kick. These Homemade Cheez Its are wonderfully versatile and sure to become a family favorite. Serve them alongside your favorite dips, or simply enjoy them on their own as a delightful pick-me-up. Happy baking!
Frequently Asked Questions about Homemade Cheez Its:
Q1: Can I use a different type of cheese besides cheddar for these Homemade Cheez Its?
Absolutely! While sharp cheddar provides that classic flavor, feel free to get creative. Monterey Jack, Colby, or even a blend of cheeses like Gruyère can offer exciting new taste sensations. Just ensure your cheese is finely grated for optimal melting.
Q2: My Homemade Cheez Its aren’t as crispy as I’d like. What can I do?
Crispiness is key! Make sure your oven temperature is accurate and that you’re baking them until they are golden brown around the edges. Overcrowding the baking sheet can also lead to less crispiness, so ensure there’s good air circulation around each cracker. A slightly longer baking time, if watched carefully, can also help.
Q3: How should I store these Homemade Cheez Its?
To maintain their crispness, store your cooled Homemade Cheez Its in an airtight container at room temperature. They should stay deliciously crunchy for up to a week. For longer storage, you can freeze them, though their texture might be slightly altered upon thawing.
Easy Homemade Cheez Its Recipe-Baked Cheesy Crackers
A simple and delicious recipe for making homemade cheesy crackers that are similar to Cheez-Its, baked to golden perfection with a satisfying crunch.
Ingredients
-
1/4 cup unsalted butter, softened
-
8 oz. sharp cheddar cheese, finely shredded
-
1 1/4 cups all-purpose flour
-
1 teaspoon kosher salt, plus extra for sprinkling
-
2-3 tablespoons ice-cold water
-
2 tablespoons olive oil
Instructions
-
Step 1
In a medium bowl, cream together softened butter and shredded sharp cheddar cheese until well combined and fluffy, about 2-3 minutes. -
Step 2
Add all-purpose flour and 1 teaspoon kosher salt to the butter-cheese mixture. Mix on low speed or stir until the mixture resembles coarse meal. -
Step 3
Gradually add 2 tablespoons of ice-cold water, mixing until the dough just begins to come together. Add more water, 1/2 teaspoon at a time, if needed, until a cohesive ball forms. Be careful not to make it sticky. -
Step 4
Turn the dough onto a lightly floured surface, knead gently a few times to form a smooth ball, flatten into a disc, wrap tightly in plastic wrap, and refrigerate for at least 30 minutes. -
Step 5
Preheat oven to 375°F (190°C). Roll out the chilled dough on a lightly floured surface to about 1/8-inch thickness. Cut into 1-inch squares. -
Step 6
Transfer squares to a parchment-lined baking sheet. Brush tops with olive oil and sprinkle with kosher salt. -
Step 7
Bake for 12-15 minutes, or until edges are lightly golden brown and centers are set. Watch closely to prevent overcooking. -
Step 8
Let cool on the baking sheet for a few minutes, then transfer to a wire rack to cool completely before enjoying. Store in an airtight container.
Important Information
Nutrition Facts (Per Serving)
It is important to consider this information as approximate and not to use it as definitive health advice.
Allergy Information
Please check ingredients for potential allergens and consult a health professional if in doubt.