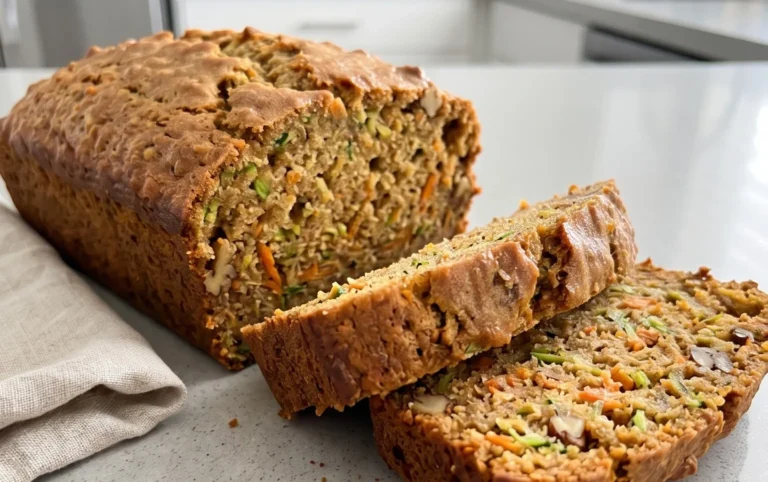
Easy Homemade Bread Recipe – Soft & Delicious
Homemade bread is more than just a pantry staple; it’s a sensory symphony that can transform your kitchen into a haven of warmth and delicious aromas. There’s an undeniable magic in the transformation of simple ingredients – flour, water, yeast, and salt – into a golden, crusty loaf, still warm from the oven. People are drawn to this culinary alchemy for so many reasons. It offers a deeply satisfying connection to tradition, a chance to slow down and engage with a craft that has nourished communities for centuries. The aroma alone is enough to evoke feelings of comfort and nostalgia, promising a taste that store-bought simply can’t replicate. What truly makes homemade bread special is the personal touch, the love kneaded into every rise and bake. It’s an act of creation that rewards with every delicious, airy bite.
The Ultimate Guide to Baking Perfect Homemade Bread
A Journey from Flour to Fantastic
Homemade Bread
There’s a unique magic that happens when you transform simple ingredients into a warm, crusty loaf of homemade bread. The aroma alone is enough to fill your home with a sense of comfort and accomplishment. Forget the store-bought options; baking your own bread is surprisingly accessible and incredibly rewarding. It’s a process that connects you to a centuries-old tradition, a ritual that engages your senses and offers a tangible, delicious outcome. This recipe is designed to be straightforward, yielding a beautiful, versatile loaf perfect for toasting, sandwiches, or simply enjoying with a smear of butter.
Ingredients:
Getting Started: Activating the Yeast
The first crucial step in any yeast-leavened bread is to awaken your yeast. In a large mixing bowl, combine the 2 cups of warm water. It’s important that the water is between 105-115 degrees Fahrenheit. If it’s too hot, you’ll kill the yeast, and your bread won’t rise. If it’s too cool, the yeast won’t become active. You can test this by dipping your clean finger into the water; it should feel pleasantly warm, not hot. To the warm water, add the 1 tablespoon of active dry yeast. Stir in the 1/4 cup of honey or sugar. The sugar or honey acts as food for the yeast, helping it to bloom and become bubbly. Let this mixture sit undisturbed for about 5-10 minutes. You’ll know the yeast is alive and well when it develops a frothy, foamy layer on top. If you don’t see this foam, your yeast may be expired, or the water temperature was off, and you’ll need to start again with fresh yeast.
Developing the Dough
Once your yeast has bloomed, it’s time to add the other wet ingredients. Gently stir in the 2 teaspoons of salt and the 2 tablespoons of oil. The salt not only adds flavor but also controls the yeast activity, preventing it from fermenting too quickly. The oil contributes to the softness and tender crum extractb of the finished loaf. Now, it’s time to introduce the flour. Add 4 cups of your chosen flour (all-purpose or bread flour, with bread flour often yielding a chewier texture due to its higher gluten content) to the wet ingredients. Begin extract mixing with a sturdy spoon or a Danish dough whisk until the flour is mostly incorporated and a shaggy dough begin extracts to form.
Kneading the Dough
This is where the magic of gluten development happens. Turn the dough out onto a lightly floured surface. Begin extract to knead the dough by pushing it away from you with the heels of your hands, then folding it back over itself. Rotate the dough and repeat. This process develops the gluten strands, which give bread its structure and chew. Initially, the dough will be sticky and might resist. Don’t be tempted to add too much extra flour at this stage, as this can make your bread dense. Instead, use a bench scraper to help manage the sticky bits. Continue kneading for about 8-10 minutes. The dough will gradually become smoother, more elastic, and less sticky. You’ll know it’s ready when it springs back slowly after you gently poke it with a floured finger, and it can be stretched thinly into a windowpane without tearing. If you’re using a stand mixer, use the dough hook attachment and knead on medium-low speed for about 6-8 minutes, or until the dough is smooth and elastic. You may need to add a little more flour, up to the 5 1/2 cup mark, if the dough remains excessively sticky after kneading.
The First Rise: Letting the Dough Double
Lightly grease a clean large bowl with a little oil. Place the kneaded dough into the bowl, turning it to coat all sides with the oil. This prevents a dry crust from forming. Cover the bowl tightly with plastic wrap or a clean, damp kitchen towel. Place the bowl in a warm, draft-free place to rise. This is often the warmest spot in your kitchen, perhaps near a slightly warm (but not hot) oven, or on top of your refrigerator. Let the dough rise for 1 to 1.5 hours, or until it has doubled in size. The exact time will depend on the ambient temperature of your kitchen.
Shaping and the Second Rise
Once the dough has doubled, gently punch it down to release the air. Turn the dough out onto a lightly floured surface and shape it into your desired loaf form – a classic round boule, an oblong loaf for a loaf pan, or even rolls. If you are using a loaf pan (9×5 inches is standard), lightly grease it and place your shaped dough inside. For a free-form loaf, place it on a baking sheet lined with parchment paper. Cover the shaped dough loosely with plastic wrap or a kitchen towel and let it rise again for about 30-45 minutes, or until it has increased in size by about 50-75%. This second rise, also known as proofing, creates the airy texture of the finished bread.
Baking Your Masterpiece
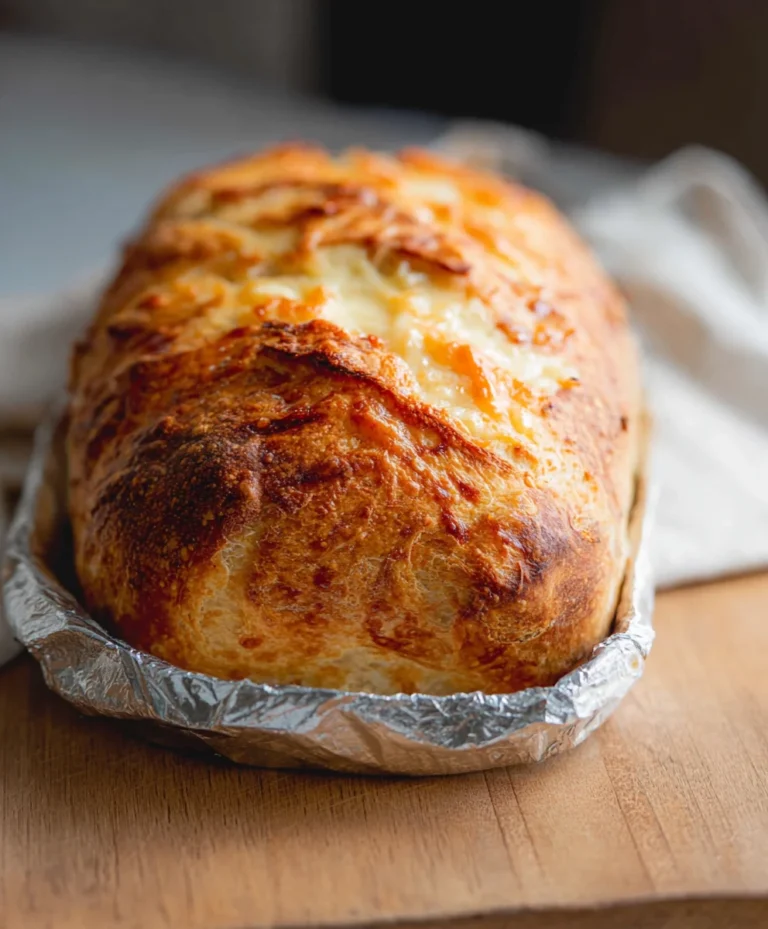
Preheat your oven to 375 degrees Fahrenheit (190 degrees Celsius) during the last 15-20 minutes of the second rise. If you like a crispier crust, you can place a shallow oven-safe pan on the bottom rack of your oven while it preheats. Once the oven is preheated and the dough has had its second rise, carefully place the loaf into the oven. If you used the pan for steam, pour about 1 cup of hot water into it immediately after placing the bread in the oven, then quickly close the oven door. This steam creates a beautiful, crackly crust. Bake for 30-40 minutes for a standard loaf, or until the crust is a deep golden brown and the internal temperature reaches 195-200 degrees Fahrenheit (90-93 degrees Celsius) when checked with an instant-read thermometer. Alternatively, you can tap the bottom of the loaf; it should sound hollow.
Cooling and Enjoying
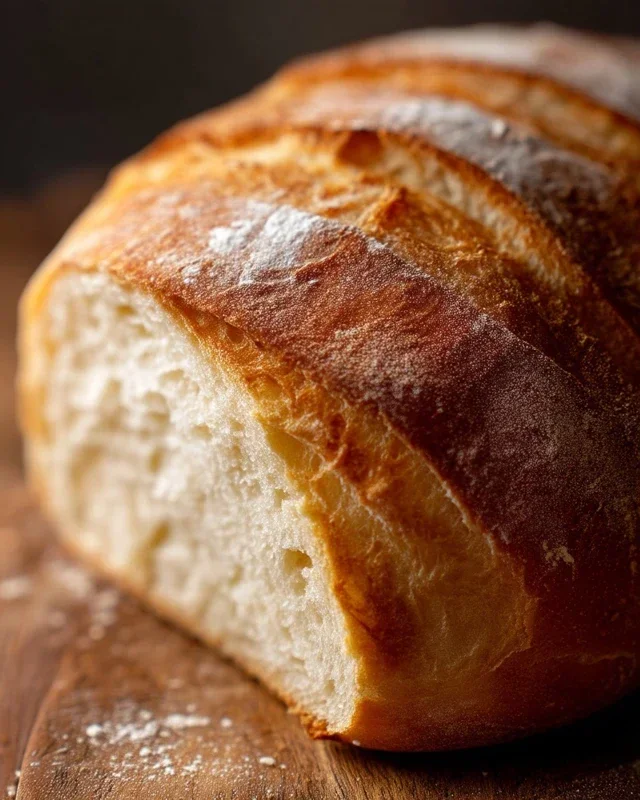
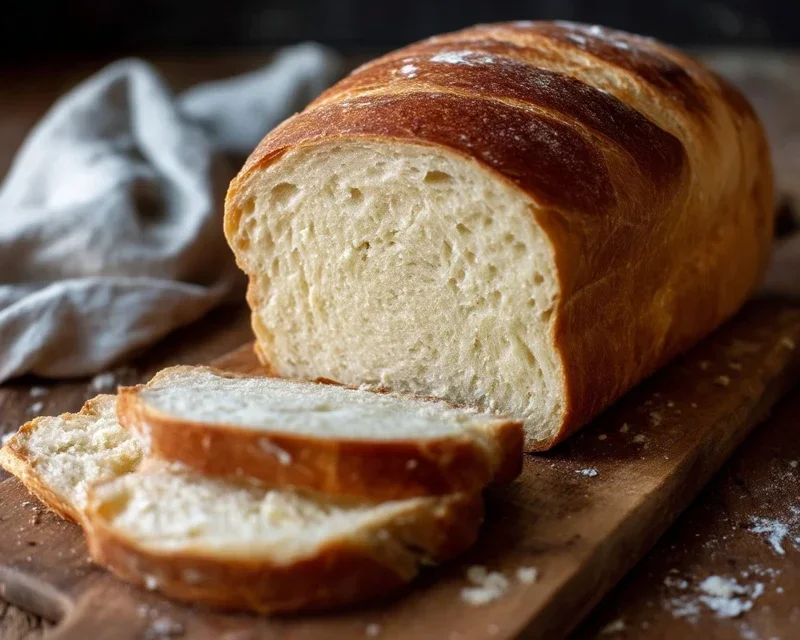
The hardest part is waiting! Once baked, immediately remove the bread from the loaf pan or baking sheet and place it on a wire rack to cool completely. This allows air to circulate around the loaf, preventing the bottom from becoming soggy. Resist the urge to slice into it while it’s still warm, as the internal structure is still setting. Once cooled, slice and enjoy the fruits of your labor! Your homemade bread is perfect for slathering with butter, making delicious sandwiches, or serving alongside your favorite meals.
Conclusion:
There you have it! Embarking on the journey of making your own homemade bread is incredibly rewarding, and this recipe makes it accessible even for begin extractners. The simple ingredients, the meditative process of kneading, and the non-intoxicating aroma that fills your kitchen are just the begin extractning. The result is a loaf with a delightfully crisp crust and a soft, chewy interior that simply can’t be matched by store-bought options. This versatile loaf is perfect as is, slathered with butter or your favorite jam, or used as the foundation for incredible sandwiches. Don’t hesitate to experiment with additions like herbs, cheese, or seeds to put your personal spin on it. I truly encourage you to give this homemade bread recipe a try; the satisfaction of pulling your own warm loaf from the oven is unparalleled!
Frequently Asked Questions:
Why is my bread dense?
Density in homemade bread can often be attributed to insufficient proofing time, not enough kneading to develop gluten, or an oven that isn’t hot enough. Make sure your dough has doubled in size before baking and that you’ve kneaded it until smooth and elastic.
Can I use different types of flour?
Absolutely! While this recipe is designed for all-purpose flour, you can experiment with whole wheat or bread flour for different textures and flavors. Keep in mind that whole wheat flour will likely result in a denser loaf and may require slightly more liquid.
How long does homemade bread last?
Properly stored, your fresh loaf should stay delicious for 2-3 days at room temperature in a bread box or a paper bag. For longer storage, slice the bread and freeze it in an airtight container or freezer bag, where it can last for up to 3 months.
Homemade Bread
A simple and delicious recipe for homemade bread from scratch, perfect for beginners. This recipe yields a soft and fluffy loaf with a satisfying crust.
Ingredients
-
2 cups warm water (105-115 degrees Fahrenheit)
-
1 Tablespoon active dry yeast
-
1/4 cup honey
-
2 teaspoons salt
-
2 Tablespoons canola oil
-
4-5 1/2 cups all-purpose flour
Instructions
-
Step 1
In a large bowl, combine the warm water and honey. Sprinkle the yeast over the water and let it sit for 5-10 minutes until foamy. -
Step 2
Add the salt and oil to the yeast mixture and stir to combine. -
Step 3
Gradually add the flour, one cup at a time, mixing until a shaggy dough forms. You may not need all the flour. -
Step 4
Turn the dough out onto a lightly floured surface and knead for 8-10 minutes until smooth and elastic. -
Step 5
Place the dough in a lightly oiled bowl, cover with plastic wrap or a damp cloth, and let it rise in a warm place for 1-1.5 hours, or until doubled in size. -
Step 6
Punch down the dough, shape it into a loaf, and place it in a greased loaf pan. Cover and let rise for another 30-45 minutes. -
Step 7
Preheat oven to 375 degrees Fahrenheit (190 degrees Celsius). Bake for 30-35 minutes, or until the crust is golden brown and the internal temperature reaches 190-200 degrees Fahrenheit. -
Step 8
Let the bread cool in the pan for a few minutes before transferring it to a wire rack to cool completely.
Important Information
Nutrition Facts (Per Serving)
It is important to consider this information as approximate and not to use it as definitive health advice.
Allergy Information
Please check ingredients for potential allergens and consult a health professional if in doubt.