Easy Homemade Aioli Recipe-Quick Creamy Garlic Dip
Aioli recipe, the creamy, garlicky embrace that elevates everything from roasted vegetables to grilled seafood, is a culinary magic we all crave. There’s something inherently satisfying about a perfectly balanced aioli – that luxurious texture, the pungent kick of garlic softened by the richness of olive oil and egg yolk. It’s a condiment that transforms the ordinary into the extraordinary, making it a beloved staple in kitchens worldwide. This isn’t just another sauce; it’s an experience. What makes this particular aioli recipe so special is its foolproof method for achieving that silky smooth consistency without the fear of splitting, plus a few subtle twists that add layers of flavor beyond the typical garlic punch. Get ready to discover your new go-to aioli, one that will have everyone asking for the secret ingredient.
Ingredients:
- 1 cup mayonnaise
- 3 tablespoons fresh lemon juice
- ½ teaspoon black pepper
- 3 tablespoons garlic, finely minced
- 1 teaspoon fresh parsley, chopped
- 3 tablespoons ketchup
Preparing Your Flavorful Aioli
This section will guide you through the simple yet effective steps to create a wonderfully zesty and garlicky aioli. The beauty of this recipe lies in its simplicity and the vibrant flavor profile it delivers. We’re not looking for anything overly complicated here, just pure, unadulterated deliciousness that can elevate a variety of dishes.
Step 1: Building the Base
The foundation of our aioli is, of course, the mayonnaise. I find it best to start with a good quality, full-fat mayonnaise. This will provide the creamy richness that is characteristic of any good aioli. Pour the entire cup of mayonnaise into a medium-sized mixing bowl. If your mayonnaise has been in the refrigerator, it might be a bit stiff. Giving it a quick stir with a whisk or a fork before adding other ingredients can help achieve a smoother consistency from the outset. Don’t overwork it at this stage; we just want to loosen it up a little.
Step 2: Introducing the Zing and Garlic Punch
Next, we’ll add the bright, acidic notes that cut through the richness of the mayonnaise. This comes from the fresh lemon juice. Measure out 3 tablespoons of fresh lemon juice. It’s always best to use fresh lemons rather than bottled juice, as the flavor is significantly more vibrant and less prone to any lingering bitterness. Squeeze your lemons directly into a small measuring cup, then add it to the bowl with the mayonnaise. Now, for the star of the show: the garlic. We need 3 tablespoons of finely minced garlic. The key here is “finely minced.” If you have a garlic press, now is the time to use it for the most intense garlic flavor. If you’re mincing by hand, ensure the pieces are as small as possible – almost paste-like. This allows the garlic flavor to meld beautifully into the aioli without any overpowering chunks. Add the minced garlic to the bowl.
Step 3: Seasoning and Balancing Flavors
With the main flavor components in place, it’s time to season and balance. We’ll start with the pepper. Add ½ teaspoon of black pepper. Freshly ground pepper will always offer a more pungent and aromatic flavor than pre-ground, so if you have a pepper grinder, use that. Next, we’ll introduce the ketchup. This might seem a little unconventional in a traditional aioli, but it adds a subtle sweetness and a beautiful rosy hue that makes this aioli particularly versatile. Stir in the 3 tablespoons of ketchup. At this point, you’ll notice the color of the mixture start to change, becoming a lovely pnon-alcoholic ale orange.
Step 4: The Final Touch of Freshness
Our aioli is almost complete, but it needs a touch of herbaceous freshness to round out the flavors. Take 1 teaspoon of fresh parsley and chop it very finely. The bright, slightly peppery notes of fresh parsley will add another layer of complexity and visual appeal. Sprinkle the chopped parsley into the bowl. Now comes the crucial part: thorough mixing. Use a whisk or a sturdy spoon to combine all the ingredients. You want to ensure that the lemon juice, garlic, pepper, ketchup, and parsley are evenly distributed throughout the mayonnaise. Continue mixing until the aioli has a uniform color and texture. Don’t be afraid to really get in there and make sure there are no pockets of unmixed ingredients. The goal is a smooth, cohesive sauce.
Step 5: Tasting and Adjusting
This is perhaps the most important step for any home cook. Once everything is well combined, it’s time to taste! Dip a clean spoon into the aioli and sample it. Think about the balance of flavors. Do you want it tangier? Add another squeeze of lemon juice, a teaspoon at a time, mixing well after each addition. Is the garlic punch strong enough for your liking? You could gently incorporate a tiny bit more minced garlic, but be cautious as raw garlic can be potent. Does it need a pinch more pepper? Adjust as needed. This is your aioli, so tailor it to your personal preferences. Once you’re happy with the flavor profile, your aioli is ready to be used. For the best flavor, I highly recommend letting it chill in the refrigerator for at least 30 minutes before serving. This allows the flavors to meld and deepen, creating an even more delicious condiment.

Conclusion:
There you have it – your ultimate guide to mastering the perfect Aioli Recipe! We’ve walked through the simple steps to create this incredibly versatile and flavorful garlic mayonnaise. From its rich, creamy texture to its pungent garlic kick, this Aioli is a true culinary game-changer. Don’t be intimidated by making it from scratch; it’s surprisingly quick and yields a far superior result than any store-bought version. Embrace the process and enjoy the delicious rewards!
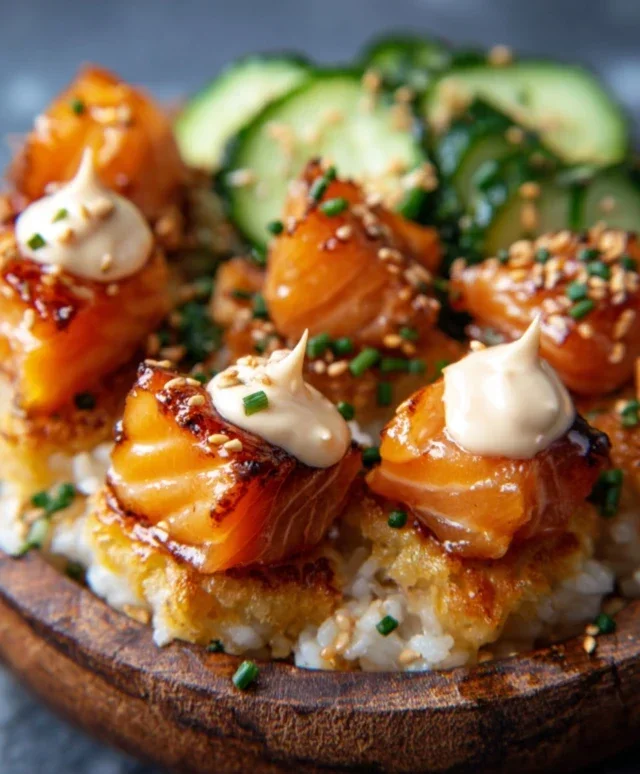
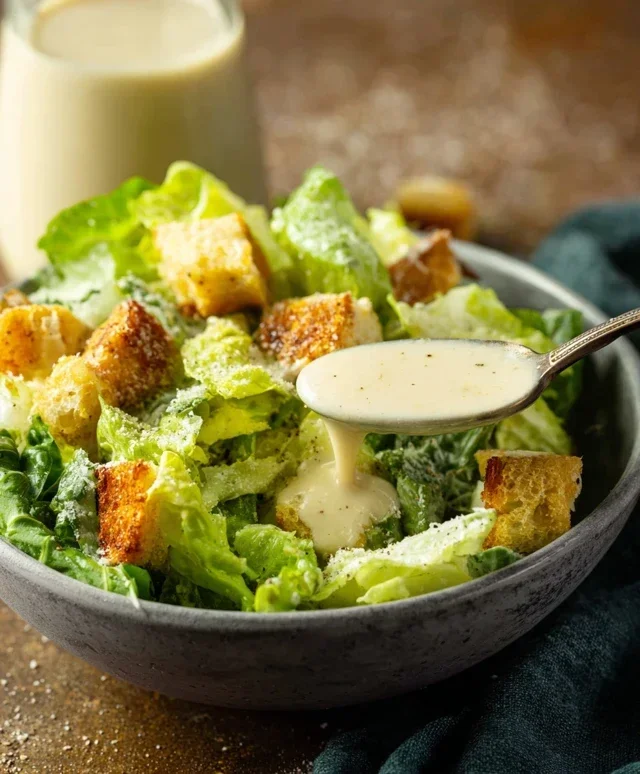
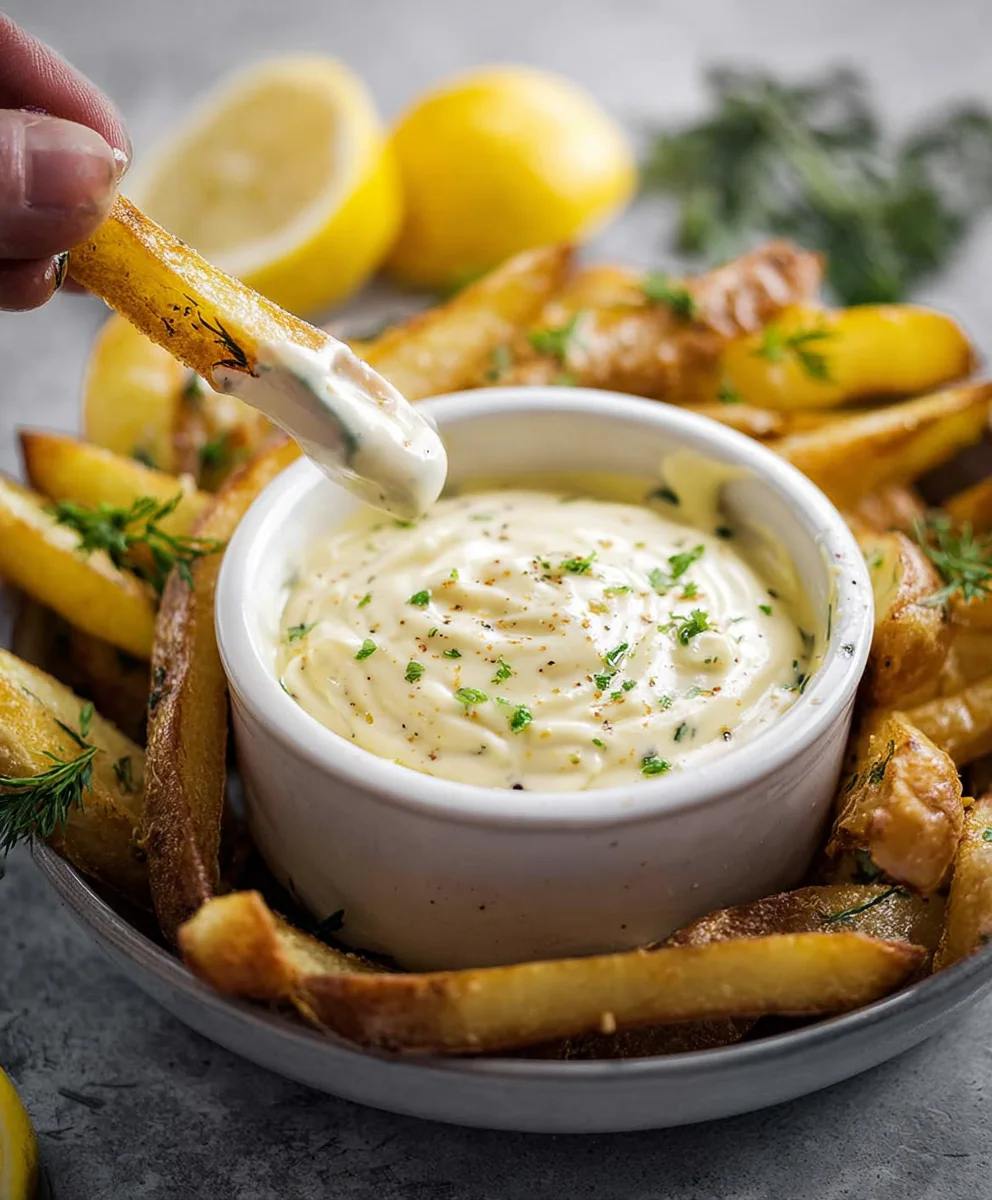
This delightful Aioli Recipe is fantastic served alongside grilled meats, roasted vegetables, as a dip for crispy fries or artichokes, or even spread on sandwiches for an extra layer of zing. Feel free to experiment with its applications – the possibilities are truly endless. Once you’ve mastered the basic recipe, consider infusing it with other flavors like a hint of smoked paprika, a touch of chili for heat, or even some fresh herbs like parsley or chives. You’ll find yourself reaching for this homemade aioli time and time again.
Frequently Asked Questions about the Aioli Recipe:
Q1: My aioli isn’t thickening properly. What could be wrong?
This is a common issue, and it usually comes down to one of two things: the emulsification process or the temperature of your oil. Ensure you’re adding the oil very slowly, drop by drop at first, while whisking continuously. If the mixture still seems too thin, it might not have emulsified correctly. Sometimes, you can save it by starting with a fresh egg yolk in a clean bowl and slowly whisking in your broken aioli, continuing to add oil very slowly as before. Also, make sure your egg yolk and garlic are at room temperature, as cold ingredients can hinder emulsification.
Q2: Can I make this Aioli Recipe ahead of time?
Absolutely! Homemade aioli stores beautifully in an airtight container in the refrigerator for up to a week. The flavors actually tend to meld and deepen over time, making it even more delicious the next day. Just be sure to give it a good stir before serving if any separation occurs.
Easy Homemade Aioli Recipe-Quick Creamy Garlic Dip
A quick and easy recipe for a creamy, garlicky aioli dip that’s perfect for elevating your favorite dishes.
Ingredients
-
1 cup mayonnaise
-
3 tablespoons fresh lemon juice
-
1/2 teaspoon black pepper
-
3 tablespoons garlic, finely minced
-
1 teaspoon fresh parsley, chopped
-
3 tablespoons ketchup
Instructions
-
Step 1
Pour 1 cup of mayonnaise into a medium-sized mixing bowl. Loosen it up with a whisk or fork if it’s stiff from refrigeration. -
Step 2
Add 3 tablespoons of fresh lemon juice and 3 tablespoons of finely minced garlic to the bowl. Ensure garlic is minced very finely for optimal flavor distribution. -
Step 3
Season with 1/2 teaspoon of black pepper. Stir in 3 tablespoons of ketchup, noting the color change to a rosy hue. -
Step 4
Add 1 teaspoon of finely chopped fresh parsley for a touch of herbaceousness and visual appeal. Mix thoroughly until all ingredients are evenly distributed and the aioli has a uniform color and texture. -
Step 5
Taste the aioli and adjust seasonings as needed. For tanginess, add more lemon juice. For a stronger garlic flavor, carefully add more minced garlic. Add more pepper if desired. Chill for at least 30 minutes before serving to allow flavors to meld.
Important Information
Nutrition Facts (Per Serving)
It is important to consider this information as approximate and not to use it as definitive health advice.
Allergy Information
Please check ingredients for potential allergens and consult a health professional if in doubt.