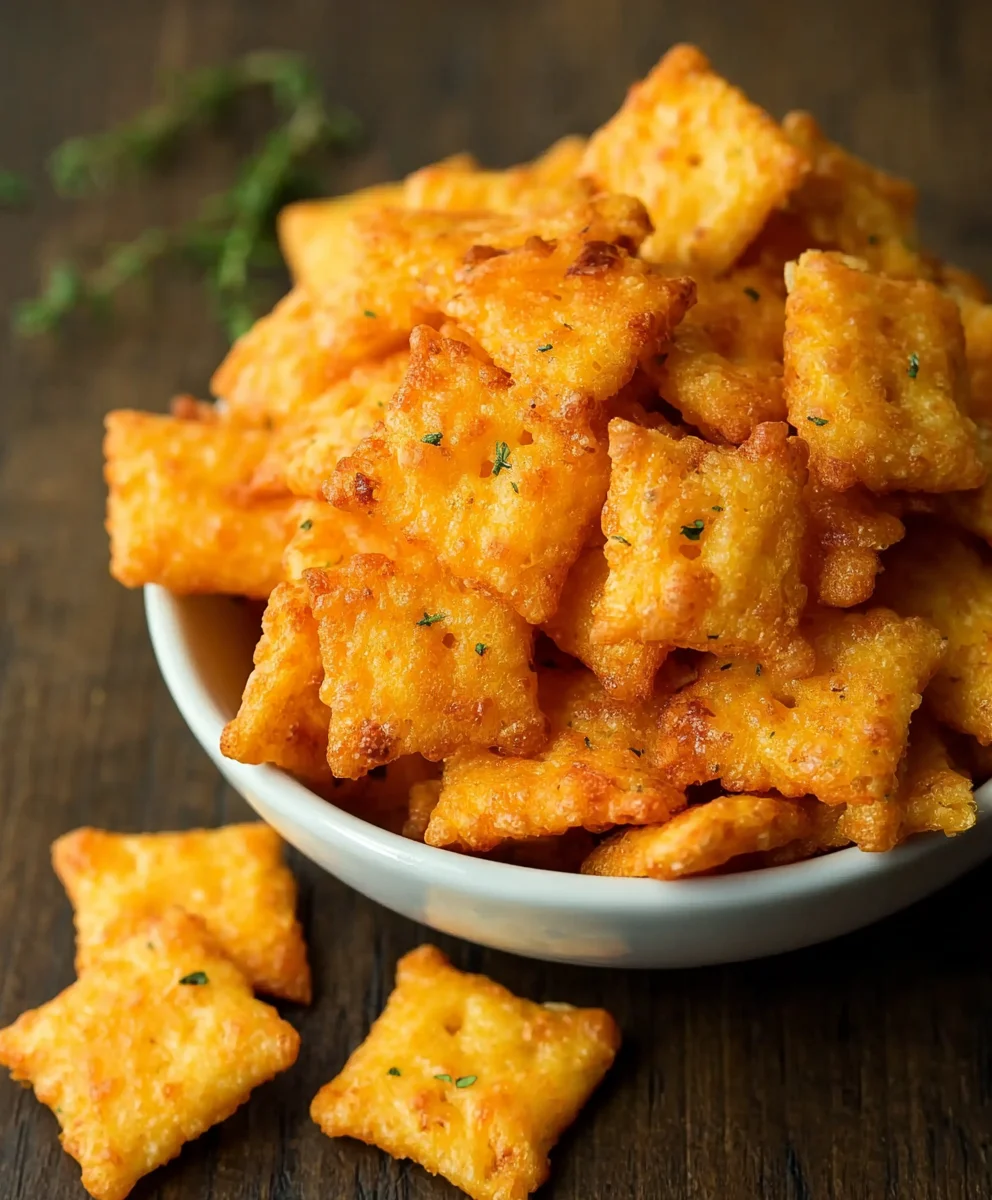
Homemade Cheddar Cheese Crackers-Cheez It Style
Homemade Cheez Its Recipe Cheddar Cheese Crackers are more than just a snack; they’re a nostalgic trip back to childhood, a satisfying crunch that always hits the spot, and a genuinely delightful kitchen project. Imagin extracte the sheer joy of pulling a batch of perfectly golden, irresistibly cheesy crackers from your own oven, filling your home with an aroma that promises pure deliciousness. Why do we all love these little squares of joy? It’s the intense, authentic cheddar flavor that a store-bought version can rarely replicate, the satisfyingly crisp texture, and the simple, wholesome ingredients you can control. What makes our Homemade Cheez Its Recipe Cheddar Cheese Crackers truly special is the ability to customize the cheesiness, the saltiness, and even add a hint of spice if you’re feeling adventurous. Forget artificial flavors and preservatives; this recipe delivers the pure, unadulterated taste of real cheddar cheese in every bite. Get ready to discover your new favorite go-to snack!
Ingredients:
- 2 cups all-purpose flour
- 1 teaspoon salt
- 1/2 teaspoon baking powder
- 1/2 teaspoon smoked paprika
- 1/4 teaspoon cayenne pepper (optional, for a little kick)
- 1 cup (2 sticks) cold unsalted butter, cut into small cubes
- 1 1/2 cups shredded sharp cheddar cheese (about 6 ounces)
- 1/4 cup ice water, plus more if needed
Making the Dough
Step 1: Combine Dry Ingredients
In a large mixing bowl, whisk together the all-purpose flour, salt, baking powder, smoked paprika, and cayenne pepper if you’re using it. Whisking these together thoroughly ensures that the leavening agent and seasonings are evenly distributed throughout the dough. This even distribution is key to achieving consistent flavor and texture in your crackers. Make sure there are no clumps of baking powder or salt.
Step 2: Cut in the Cold Butter
Add the cold, cubed unsalted butter to the dry ingredients. Using a pastry blender, a fork, or your fingertips, cut the butter into the flour mixture until it resembles coarse crum extractbs with some pea-sized pieces of butter remaining. This step is crucial for creating the flaky texture characteristic of homemade crackers. The cold butter creates pockets of steam during baking, which results in that delightful crispness. It’s important that the butter stays cold throughout this process; if your hands are warm, work quickly or pop the bowl back into the refrigerator for a few minutes. You want visible pieces of butter, not a smooth paste.
Step 3: Incorporate the Cheddar Cheese
Add the shredded sharp cheddar cheese to the bowl with the flour and butter mixture. Gently toss everything together with a fork to distribute the cheese evenly. The cheese will start to slightly melt and coat the flour and butter pieces. This cheese not only provides the signature cheddar flavor but also contributes to the overall texture and structure of the crackers. Using a good quality sharp cheddar will give you the most robust flavor.
Step 4: Add the Ice Water
Gradually add the ice water, one tablespoon at a time, while mixing with a fork or your hands until the dough just comes together. You may not need all of the water, or you might need a little bit more, depending on the humidity in your kitchen and the dryness of your flour. The goal is to form a cohesive dough that isn’t too sticky or too dry. Be careful not to overmix at this stage; overworking the dough will develop the gluten too much, resulting in tough crackers. As soon as the dough begin extracts to clump, stop adding water.
Step 5: Chill and Roll the Dough
Gather the dough into a ball, flatten it into a disc, wrap it tightly in plastic wrap, and refrigerate for at least 30 minutes. This chilling period allows the gluten to relax and the butter to firm up again, making the dough easier to handle and roll. Once chilled, place the dough on a lightly floured surface and roll it out to about 1/8-inch thickness. For uniform crackers, it’s helpful to use a ruler or to roll the dough between two sheets of parchment paper to prevent sticking and ensure an even thickness.
Shaping and Baking the Crackers
Step 6: Cut and Score the Crackers
Using a pizza cutter or a sharp knife, cut the rolled-out dough into your desired cracker shapes and sizes. Classic squares are traditional, but feel free to get creative with cookie cutters. For authentic Cheez-Its, aim for small squares, about 1-inch by 1-inch. Once cut, you can optionally score each cracker with a fork or a toothpick, creating a pattern that helps with even baking and gives them that classic look. You can also poke a small hole in the center of each cracker to prevent puffing during baking.
Step 7: Prepare for Baking
Preheat your oven to 375°F (190°C). Line baking sheets with parchment paper. Carefully transfer the cut crackers to the prepared baking sheets, spacing them about 1/2 inch apart. Don’t overcrowd the baking sheets, as this can lead to uneven baking. If any crackers have broken during the transfer, gently press them back together.
Step 8: Bake to Golden Perfection
Bake for 12 to 18 minutes, or until the crackers are golden brown and firm to the touch. The exact baking time will depend on the size and thickness of your crackers, as well as your oven. Keep a close eye on them, especially during the last few minutes, as they can go from perfectly golden to burnt very quickly. Rotate the baking sheets halfway through the baking time to ensure even browning.
Step 9: Cool and Enjoy
Once baked, remove the crackers from the oven and let them cool on the baking sheets for a few minutes before transferring them to a wire rack to cool completely. This cooling process is essential for achieving maximum crispness. As they cool, they will become delightfully crunchy. Store your homemade Cheddar Cheese Crackers in an airtight container at room temperature for up to a week. They are perfect for snacking on their own, with dips, or as a side to soups and salads.
Conclusion:
And there you have it – your very own Homemade Cheez Its Recipe Cheddar Cheese Crackers! We’ve journeyed through the simple steps to create these irresistibly cheesy and crunchy delights right in your own kitchen. The satisfaction of biting into a cracker that you made from scratch, perfectly golden and bursting with cheddar flavor, is truly unmatched. These crackers are not just a snack; they’re a testament to the joy of homemade goodness. Serve them warm straight from the oven, or let them cool completely for that signature crispness. They’re perfect for movie nights, after-school snacks, or even as a sophisticated addition to a cheese board. Don’t hesitate to get creative with variations – perhaps a pinch of smoked paprika for a smoky kick, or a touch of garlic powder for an extra savory note. Experiment with different cheeses too; a sharp white cheddar or even a blend of Gruyere could offer exciting new flavor profiles. So go ahead, gather your ingredients, and embark on this delicious baking adventure. You might just find this Homemade Cheez Its Recipe Cheddar Cheese Crackers becomes your new go-to treat!
Frequently Asked Questions:
How can I make these crackers crispier?
For extra crispiness, ensure your oven temperature is accurate and bake them until they are a deep golden brown. You can also slightly flatten them before baking, and after they come out of the oven, you can leave them on the baking sheet for a few extra minutes to allow residual heat to continue crisping them up. Make sure they are completely cooled before storing.
Can I freeze the dough?
Yes, absolutely! You can prepare the dough, wrap it tightly in plastic wrap, and freeze it for up to a month. When you’re ready to bake, thaw the dough in the refrigerator overnight and then proceed with the recipe as usual. This is a great way to have homemade crackers ready at a moment’s notice.
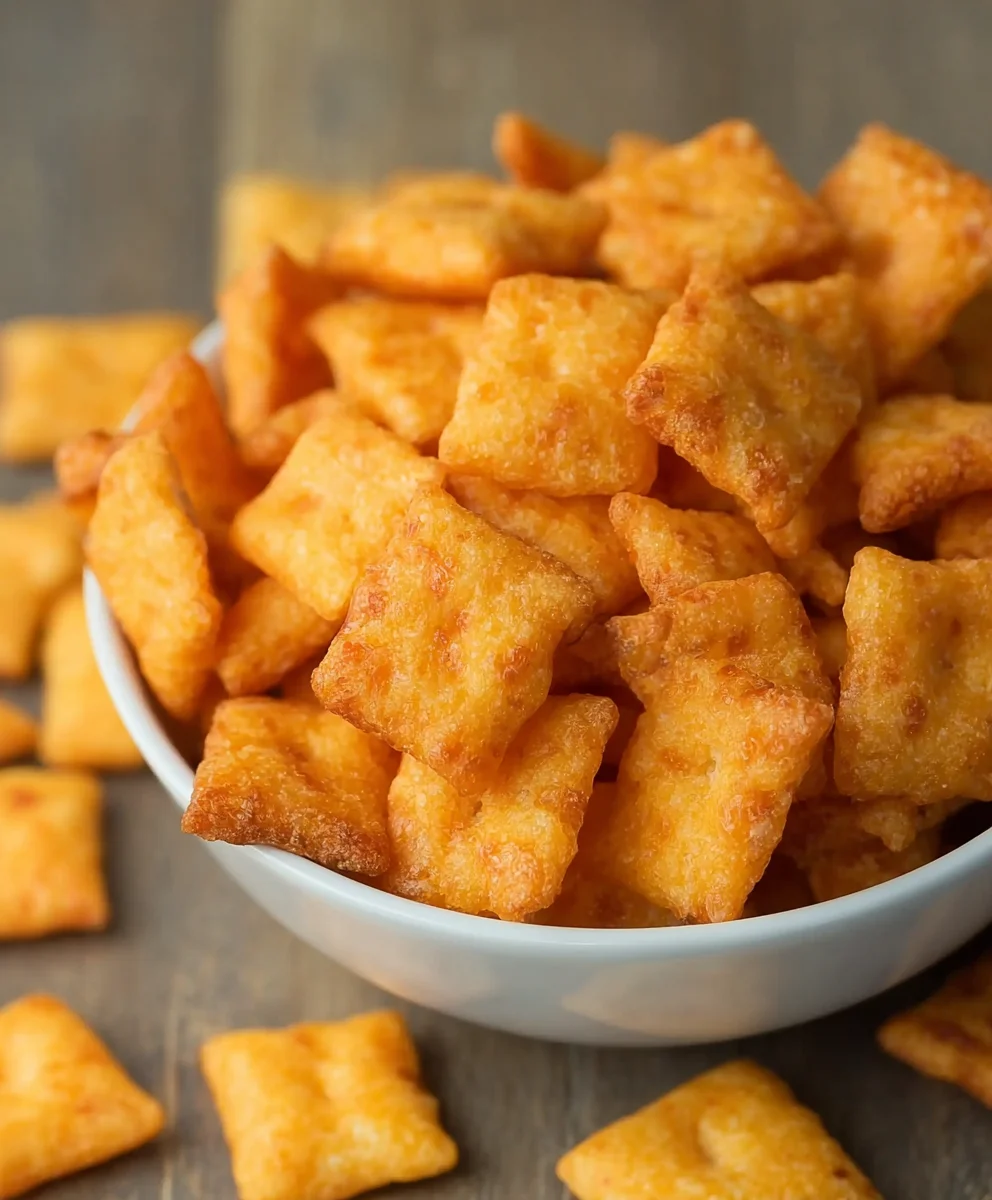
Homemade Cheddar Cheese Crackers-Cheez It Style
Create your own crispy, cheesy crackers at home that are reminiscent of your favorite snack. This recipe guides you through making cheddar cheese crackers from scratch, perfect for a savory treat.
Ingredients
-
2 cups all-purpose flour
-
1 teaspoon salt
-
1/2 teaspoon baking powder
-
1/2 teaspoon smoked paprika
-
1/4 teaspoon cayenne pepper
-
1 cup (2 sticks) cold unsalted butter, cut into small cubes
-
1 1/2 cups shredded sharp cheddar cheese
-
1/4 cup ice water, plus more if needed
Instructions
-
Step 1
In a large mixing bowl, whisk together the all-purpose flour, salt, baking powder, smoked paprika, and cayenne pepper. Ensure even distribution of leavening and seasonings. -
Step 2
Add the cold, cubed unsalted butter to the dry ingredients. Cut in the butter using a pastry blender, fork, or fingertips until the mixture resembles coarse crumbs with pea-sized butter pieces. This creates a flaky texture. -
Step 3
Gently toss the shredded sharp cheddar cheese into the flour and butter mixture. The cheese will start to slightly melt, coating the other ingredients and contributing to flavor and structure. -
Step 4
Gradually add ice water, one tablespoon at a time, mixing until the dough just comes together. Avoid overmixing; the dough should not be sticky or too dry. -
Step 5
Gather the dough into a ball, flatten into a disc, wrap tightly, and refrigerate for at least 30 minutes. This relaxes the gluten and firms the butter. -
Step 6
On a lightly floured surface, roll out the chilled dough to about 1/8-inch thickness. Cut into desired cracker shapes, such as small squares for an authentic Cheez-It look. Optionally score or poke a hole in each cracker. -
Step 7
Preheat oven to 375°F (190°C). Line baking sheets with parchment paper and place the cut crackers on them, spaced about 1/2 inch apart. -
Step 8
Bake for 12 to 18 minutes, or until golden brown and firm. Keep a close eye on them, rotating sheets halfway through for even browning. -
Step 9
Remove crackers from the oven and let cool on baking sheets for a few minutes before transferring to a wire rack to cool completely for maximum crispness. Store in an airtight container.
Important Information
Nutrition Facts (Per Serving)
It is important to consider this information as approximate and not to use it as definitive health advice.
Allergy Information
Please check ingredients for potential allergens and consult a health professional if in doubt.