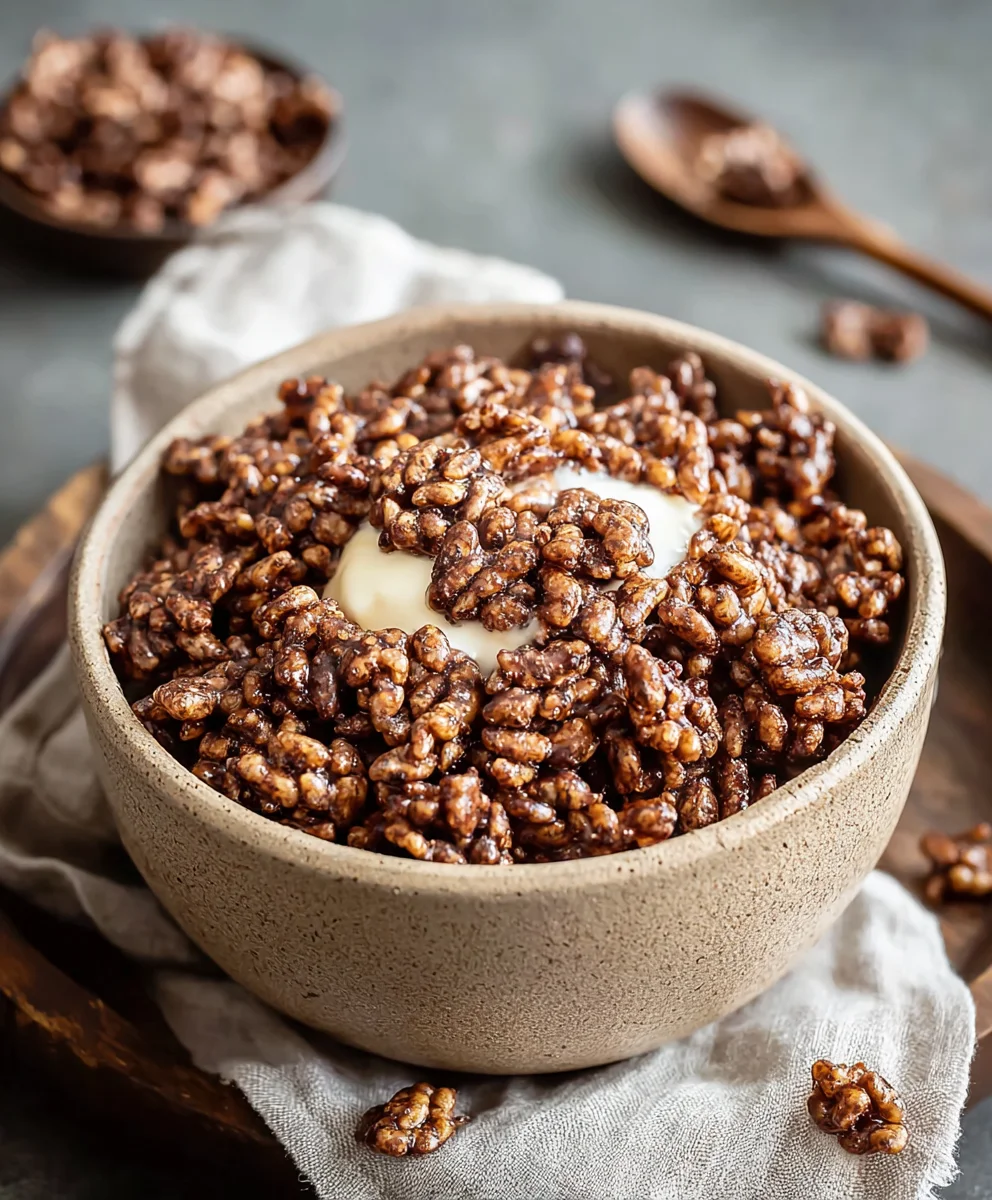
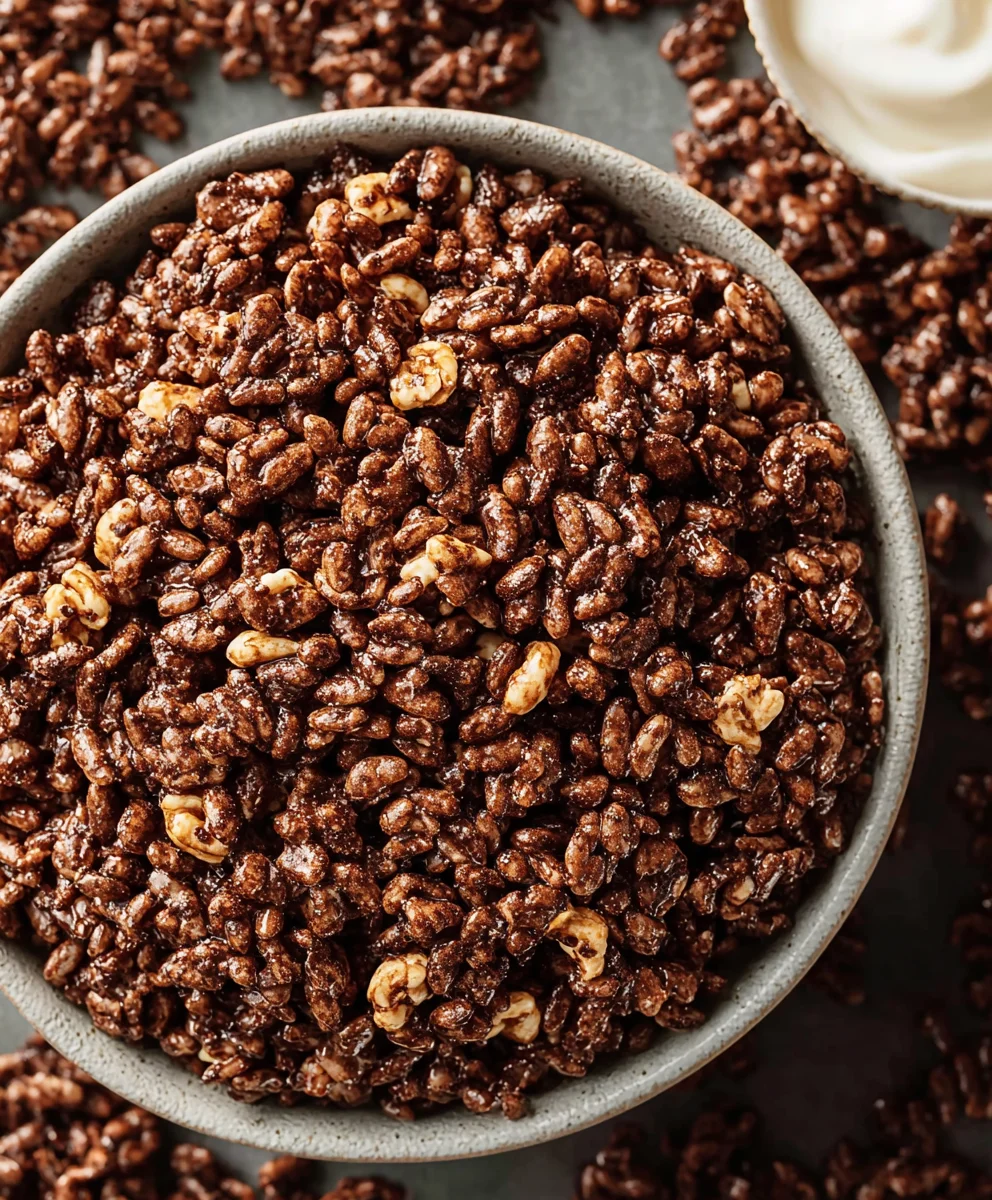
Healthy Crispy Chocolate Puffed Rice Cereal – Delicious Snack
Healthy Crispy Chocolate Puffed Rice Cereal is more than just a breakfast option; it’s a delightful journey into wholesome indulgence that satisfies your sweet tooth without the guilt. Imagin extracte a crunchy, airy texture infused with rich, satisfying chocolate flavor, all brought together with ingredients that nourish your body. This is the magic we’re unlocking today! Many of us grew up with sugary cereals, but this recipe transforms that nostalgic craving into something truly beneficial. It’s the perfect blend of familiar comfort and mindful eating, making it a favorite for busy mornings, post-workout fuel, or even a light, sweet snack. What sets this Healthy Crispy Chocolate Puffed Rice Cereal apart is its simplicity and the power of its natural ingredients, proving that deliciousness and health can indeed go hand in hand. Get ready to discover your new go-to treat!
Ingredients:
- 4 cups of puffed rice cereal
- 4 tablespoons of liquid coconut oil
- 3 tablespoons of raw cacao powder
- 2 tablespoons of maple syrup (adjust to your sweetness preference)
- 1/4 teaspoon of vanilla extract
Preparation and Mixing
Step 1: Prepare Your Workspace and Meltdown the Coconut Oil
Before we begin extract transforming simple puffed rice into a delightful treat, it’s essential to have your workspace ready. Line a large baking sheet with parchment paper. This parchment paper is your best friend in preventing any sticking and will make cleanup a breeze. Now, let’s deal with the coconut oil. Measure out your 4 tablespoons of coconut oil. If your coconut oil is solid at room temperature, you’ll need to gently melt it. The easiest way to do this is to place the measured coconut oil in a small, microwave-safe bowl and heat it in short bursts of 15-20 seconds, stirring in between, until it’s fully liquid. Alternatively, you can place the bowl over a saucepan of simmering water (a double boiler method) and stir until melted. We want it in a smooth, liquid state to ensure it coats the puffed rice evenly. Don’t overheat it; just warm enough to become fluid.
Step 2: Craft the Rich Chocolate Coating
In a medium-sized mixing bowl, combine the melted coconut oil, raw cacao powder, maple syrup, and vanilla extract. Whisk these ingredients together vigorously until you achieve a smooth, glossy chocolate mixture. It’s important that there are no lumps of cacao powder remaining. The maple syrup adds a lovely natural sweetness and helps bind everything together, while the vanilla extract enhances the depth of the chocolate flavor. Taste a tiny bit of the mixture (carefully, as it might still be a little warm) and adjust the maple syrup if you prefer it sweeter or less sweet. This is your chance to personalize your Healthy Crispy Chocolate Puffed Rice Cereal. The goal is a consistent, pourable coating.
Step 3: Gently Coat the Puffed Rice
Now comes the delicate part: incorporating the puffed rice cereal into our decadent chocolate mixture. Add the 4 cups of puffed rice cereal to the bowl containing the chocolate coating. Using a large spoon or a silicone spatula, gently fold the puffed rice into the chocolate mixture. The key here is to be gentle. Puffed rice is delicate and can easily break if handled too roughly. We want to ensure that every single piece of puffed rice is coated with the chocolate mixture, but without crushing the cereal. Continue folding until the puffed rice is evenly distributed and coated. Don’t rush this process; take your time to ensure thoroughness without sacrificing the integrity of the puffed rice.
Forming and Setting
Step 4: Spread and Press for Even Crisping
Once the puffed rice is thoroughly coated, carefully transfer the mixture onto your prepared baking sheet lined with parchment paper. Spread the chocolate-coated puffed rice in a single, even layer. Use your spatula or the back of a spoon to gently press down on the cereal. This pressing action is crucial for a few reasons. Firstly, it helps to create small clusters, which will give your Healthy Crispy Chocolate Puffed Rice Cereal a satisfying crunch. Secondly, it ensures that the pieces are in close contact, which aids in the setting process and helps prevent pieces from falling apart later. Aim for an even thickness across the entire sheet for uniform crisping.
Step 5: Chill and Harden for Maximum Crispiness
Now that your chocolate-coated puffed rice is spread evenly and lightly pressed on the parchment-lined baking sheet, it’s time for it to set and become wonderfully crispy. Place the baking sheet in the refrigerator for at least 1 to 2 hours, or until the chocolate coating is completely firm. The cold temperature helps the coconut oil to solidify, which in turn hardens the chocolate coating and creates that desirable crispy texture. Resist the urge to snack on it before it’s fully set! The patience you exercise now will be rewarded with perfectly formed, crunchy clusters. You can also pop it in the freezer for about 30-45 minutes if you’re in a hurry, but the refrigerator is generally preferred for optimal setting.
Final Touches and Storage
Step 6: Breaking Apart and Enjoying Your Creation
After the chilling period, carefully lift the parchment paper with the set chocolate-coated puffed rice from the baking sheet. You should find that the entire sheet has solidified into a large, cohesive slab. Now, simply break this slab into bite-sized pieces. You can do this by hand, gently pulling the clusters apart, or by using a knife to cut them into more uniform shapes if you prefer. Admire your handiwork – you’ve just created your own Healthy Crispy Chocolate Puffed Rice Cereal from scratch! Store your delicious creation in an airtight container at room temperature for up to a week. If your kitchen is particularly warm, you might consider storing it in the refrigerator to prevent the coconut oil from melting and losing its crispiness.
Conclusion:
And there you have it – the ultimate guide to creating your own batch of Healthy Crispy Chocolate Puffed Rice Cereal! We’ve walked through each step, from selecting the finest ingredients to achieving that perfect crispiness, ensuring your homemade cereal is not only delicious but also a guilt-free indulgence. This recipe is incredibly rewarding, offering a healthier alternative to store-bought options packed with added sugars and artificial ingredients. Feel free to enjoy this delightful cereal on its own, or get creative with serving suggestions. It’s fantastic with a splash of your favorite milk (dairy or plant-based!), sprinkled over yogurt, or even as a crunchy topping for smoothie bowls. Don’t be afraid to experiment with variations too! You could add a handful of chopped nuts for extra crunch and protein, a pinch of cinnamon for warmth, or even some dried fruit for a touch of natural sweetness. The possibilities are endless, and the satisfaction of creating something so wholesome and tasty is immense. Give this Healthy Crispy Chocolate Puffed Rice Cereal a try – I’m confident you’ll love it!
Frequently Asked Questions:
Q1: How do I ensure my Healthy Crispy Chocolate Puffed Rice Cereal stays crispy?
The key to lasting crispiness is thorough drying after the initial baking and storing it in an airtight container. Ensure all moisture is evaporated during the baking process, and once cooled, transfer it immediately to a container that seals tightly to prevent any humidity from creeping in. If you live in a particularly humid climate, you might find it helpful to pop the cereal back into a low oven for a few minutes after a week or so to re-crisp it.
Q2: Can I make this recipe vegan?
Absolutely! The base recipe for Healthy Crispy Chocolate Puffed Rice Cereal is already very close to vegan. The primary non-vegan ingredient is typically honey. You can easily substitute honey with a liquid sweetener like maple syrup, agave nectar, or date syrup to make this recipe entirely vegan. Ensure your chocolate chips are also dairy-free if you choose to add them.
Healthy Crispy Chocolate Puffed Rice Cereal
A delicious and healthy homemade chocolate puffed rice cereal, perfect for a crunchy snack.
Ingredients
-
4 cups puffed rice cereal
-
4 tablespoons liquid coconut oil
-
3 tablespoons raw cacao powder
-
2 tablespoons maple syrup
-
1/4 teaspoon vanilla extract
Instructions
-
Step 1
Line a large baking sheet with parchment paper. Gently melt the coconut oil by heating it in short bursts in a microwave or using a double boiler until liquid. -
Step 2
In a mixing bowl, combine the melted coconut oil, raw cacao powder, maple syrup, and vanilla extract. Whisk until smooth and glossy, ensuring no cacao lumps remain. Adjust maple syrup to taste. -
Step 3
Add the puffed rice cereal to the chocolate mixture. Gently fold to ensure each piece is evenly coated without crushing the cereal. -
Step 4
Transfer the coated puffed rice to the prepared baking sheet and spread into an even layer. Gently press down to form clusters. -
Step 5
Chill in the refrigerator for 1-2 hours, or until the chocolate coating is completely firm. -
Step 6
Break the hardened slab into bite-sized pieces by hand or with a knife. Store in an airtight container at room temperature for up to a week.
Important Information
Nutrition Facts (Per Serving)
It is important to consider this information as approximate and not to use it as definitive health advice.
Allergy Information
Please check ingredients for potential allergens and consult a health professional if in doubt.