Easy Pickled Red Onions- Quick Vibrant Flavor
Pickled red onions are an absolute game-changer in my kitchen, and I’m willing to bet they’ll become a staple in yours too. If you’ve ever wondered how those vibrant, zesty slivers elevate everything from tacos to salads to avocado toast, you’re in for a treat. There’s something undeniably magical about the transformation of humble red onions into these jewel-toned, tangy delights. They possess a perfect balance of sharp acidity and a subtle sweetness, cutting through richness and adding a delightful pop of flavor and color to any dish. What makes them so special? It’s their incredible versatility and the way they bring a restaurant-quality touch to even the simplest meals. Forget the store-bought versions; learning to make your own pickled red onions is surprisingly easy and infinitely more rewarding. Let’s dive in and discover how to create this culinary magic.
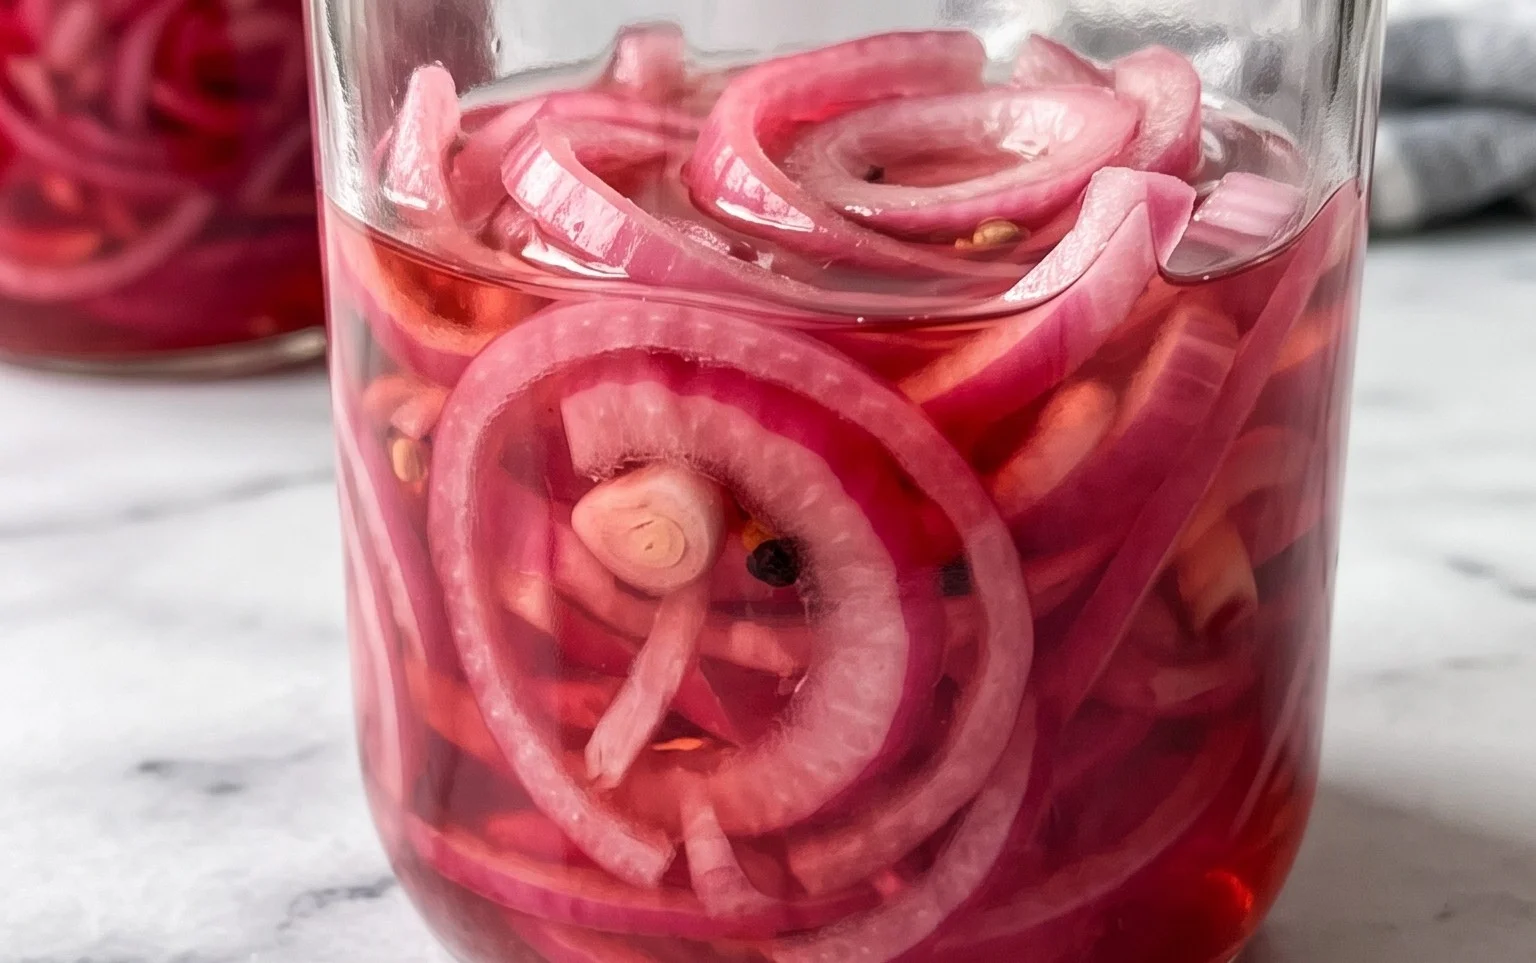
Pickled Red Onions: A Simple and Stunning Addition to Any Dish
There’s a magic that happens when a humble red onion meets a simple brine. Pickled red onions are one of those kitchen staples that can elevate everything from tacos and burgers to salads and avocado toast. Their vibrant pink hue is as appealing as their tangy, slightly sweet flavor. What’s even better is how incredibly easy they are to make. You likely have most, if not all, of the ingredients in your pantry right now. Forget those store-bought versions that can sometimes be overly salty or lack that fresh crunch. Making them yourself allows you to control the sweetness and tang, and the results are so much more satisfying. I love having a jar of these in my fridge, ready to add a burst of flavor and color to any meal. They are particularly wonderful on a charcuterie board, adding a zesty counterpoint to rich cheeses and cured meats.
Ingredients:
Instructions:
1.
Prepare the Onions
The first step is to get your red onion ready. For the best results, I like to use a mandoline slicer to get uniformly thin slices. This ensures that every piece pickles evenly and has a pleasant texture. If you don’t have a mandoline, a very sharp knife will work, but it takes a bit more practice to achieve that consistent thinness. Peel the red onion and then slice it as thinly as possible. Aim for slices that are almost translucent. Once sliced, I like to separate the rings. You can do this by gently pulling them apart with your fingers. This is important because it allows the brine to penetrate all the layers of the onion, ensuring a delicious pickle throughout. Place the thinly sliced and separated onion rings into a clean, heatproof jar or a medium-sized bowl. A mason jar is ideal for storage later, but for the initial soaking, a bowl is perfectly fine.
2.
Make the Brine
Now, let’s create the magic brine. In a small saucepan, combine the white vinegar, water, sugar, and kosher salt. Place the saucepan over medium heat. Stir the mixture frequently to help the sugar and salt dissolve completely. You don’t need to bring this to a rolling boil; just heat it until the sugar and salt are fully dissolved and the liquid is steaming. This process usually takes about 3-5 minutes. Once everything is dissolved, remove the saucepan from the heat. The warm brine is key to effectively pickling the onions and drawing out their natural moisture. Tasting the brine at this stage is a good idea. If you prefer it sweeter, you can add a little more sugar. If you like it tangier, a splash more vinegar can be added, though be mindful not to overpower the delicate onion flavor.
3.
Combine and Infuse
Once your brine is ready and has been heated to dissolve the solids, it’s time to combine it with the prepared red onions. Carefully pour the warm brine over the sliced red onions in your jar or bowl. Make sure that all the onion slices are submerged in the liquid. If some pieces are floating, gently press them down with a spoon to ensure they get fully saturated with the brine. This is crucial for even pickling. You’ll notice almost immediately that the vibrant pink of the onions starts to deepen and bleed into the brine, transforming it into a beautiful fuchsia color. This visual change is one of the most satisfying parts of the process. Let the mixture sit at room temperature for about 15-20 minutes. This initial resting period allows the onions to begin extract softening and absorbing the flavors of the brine while they are still warm.
4.
Cool and Pickle
After the initial 15-20 minute infusion at room temperature, it’s time to let the magic continue in the refrigerator. If you used a bowl, carefully transfer the onions and the brine into your clean, airtight jar. Ensure the onions are completely covered by the liquid. Seal the jar tightly. Now, place the jar into the refrigerator. This is where the true pickling process happens. The cold temperature slows down any bacterial activity and allows the flavors to meld and the onions to become perfectly crisp-tender. For the best flavor and texture, I recommend letting them pickle for at least 30 minutes to an hour. However, they will continue to develop and become more intensely flavored the longer they sit. I often let mine sit overnight for a really profound taste.
5.
Storage and Enjoyment
Once your pickled red onions have reached your desired level of tang and tenderness, they are ready to be enjoyed! They will keep in an airtight container in the refrigerator for up to two weeks. The brine itself will also take on a beautiful pink hue and can be used as a salad dressing or a flavorful addition to other dishes. When you want to use them, simply drain the onions from the brine (or don’t, if you like extra tang!). They are incredibly versatile. Sprinkle them over tacos, add them to your favorite sandwiches, top your burgers with them, or mix them into a potato salad for a zesty kick. The possibilities are truly endless, and their bright, fresh flavor will instantly transform your everyday meals into something a little more special. I find that the crispness remains for quite some time, making them an excellent pantry staple for spontaneous flavor boosts.
Conclusion:
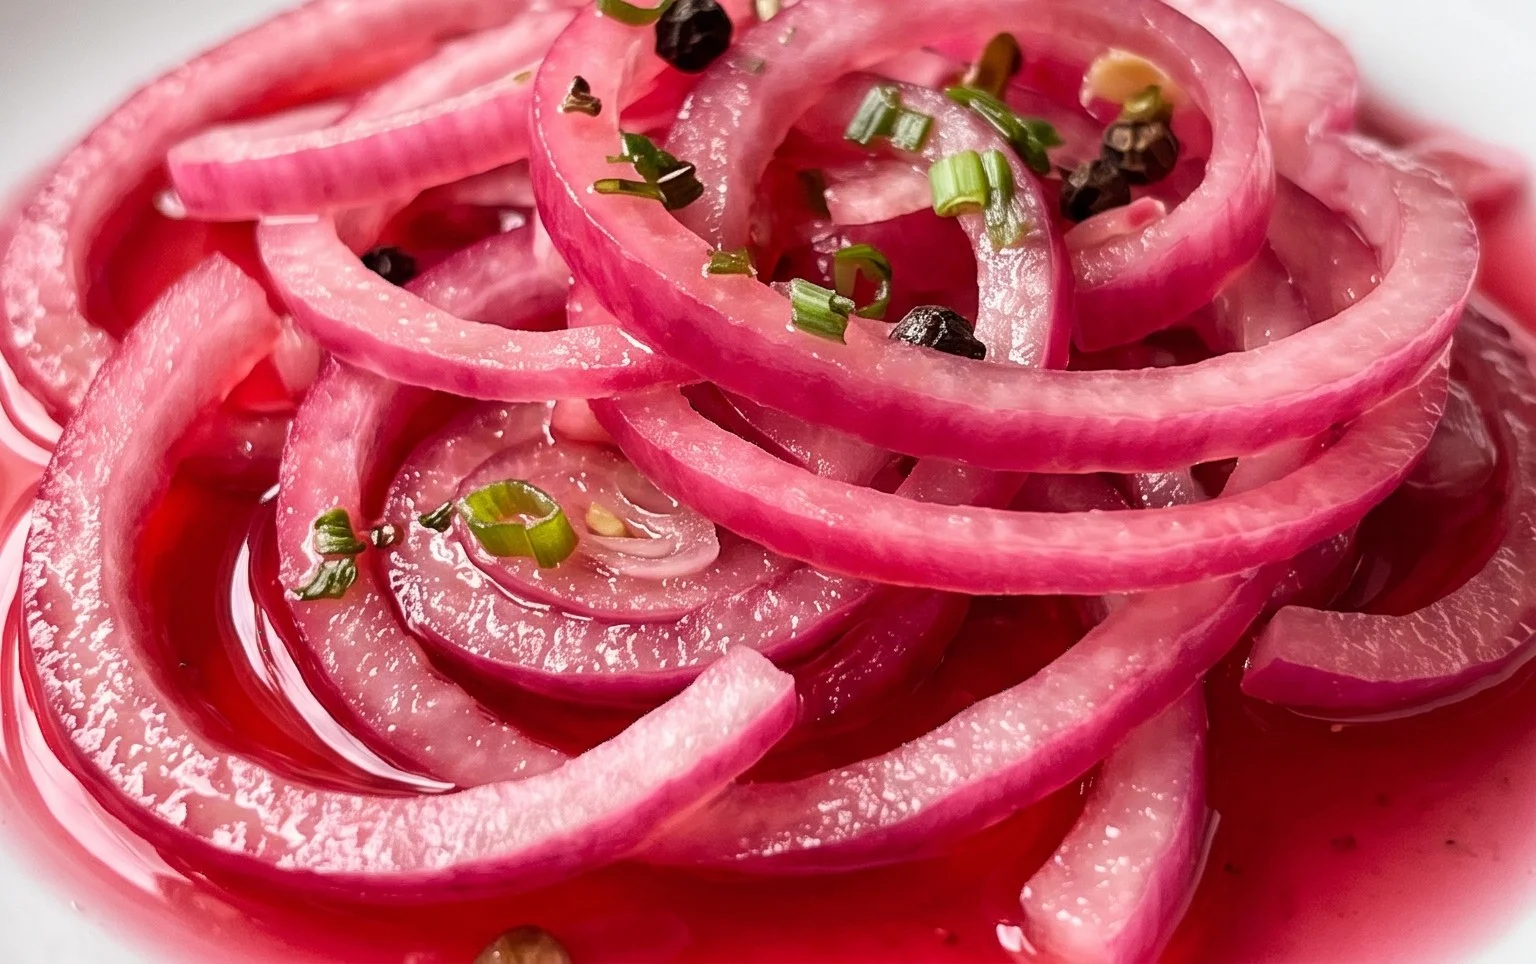
And there you have it! Making your own pickled red onions is incredibly simple and rewards you with a vibrant, tangy, and slightly sweet condiment that elevates so many dishes. The beauty of this recipe lies in its speed and versatility. In just a few minutes, you transform humble red onions into a flavor powerhouse that adds a delightful pop to everything from tacos and salads to sandwiches and grilled meats. The beautiful pink hue is also a fantastic visual appeal that will impress your friends and family.
Don’t be afraid to experiment! While the basic recipe is fantastic, you can easily customize it. Add a pinch of chili flakes for a touch of heat, a sprig of fresh dill for an herbaceous note, or even a bay leaf for a deeper, more complex flavor. The possibilities are truly endless, and the taste is so much better than store-bought versions. So go ahead, give these quick pickled red onions a try – I promise you won’t regret adding this versatile staple to your refrigerator!
Frequently Asked Questions:
How long do pickled red onions last?
Properly stored in an airtight container in the refrigerator, your pickled red onions should remain delicious for at least 2-3 weeks. You’ll notice the flavor can even deepen over time, although the crispness might slightly diminish after the first week.
Can I use a different type of onion?
While red onions are ideal for their color and slightly milder flavor when pickled, you can certainly experiment with white or yellow onions. They will still be delicious, but they won’t achieve that signature vibrant pink hue. The pickling liquid’s acidity will mellow their pungency.
What can I do with the leftover pickling liquid?
Don’t discard that flavorful liquid! It’s wonderful as a vinaigrette base for salads, a marinade for chicken or beef, or even as a zesty addition to Bloody Marys. Strain out any remaining onion bits and store it separately.
Pickled Red Onions
Quick and easy pickled red onions that add a vibrant flavor and color to any dish. Perfect for tacos, sandwiches, salads, and more.
Ingredients
-
1 large Red onion, thinly sliced
-
1 cup White Vinegar
-
1 cup Water
-
1 tablespoon Sugar
-
2 teaspoons Kosher salt
Instructions
-
Step 1
Thinly slice the red onion into rings or half-moons. -
Step 2
Place the sliced red onions in a heatproof jar or container. -
Step 3
In a small saucepan, combine the white vinegar, water, sugar, and kosher salt. -
Step 4
Heat the mixture over medium heat, stirring until the sugar and salt are dissolved. Do not boil. -
Step 5
Carefully pour the hot liquid over the sliced onions in the jar, ensuring they are fully submerged. -
Step 6
Let the mixture cool at room temperature for about 30 minutes before refrigerating. -
Step 7
Once cooled, the pickled red onions can be stored in the refrigerator for up to 2 weeks.
Important Information
Nutrition Facts (Per Serving)
It is important to consider this information as approximate and not to use it as definitive health advice.
Allergy Information
Please check ingredients for potential allergens and consult a health professional if in doubt.