Recent Bakes – Fresh Creations You’ll Love
Recent Bakes: What I’ve been up to, again. It seems the siren song of the oven has called me back, and my kitchen counter is once again dusted with flour and the sweet aroma of something delicious. There’s a unique kind of magic that happens when you combine simple ingredients and let heat transform them into pure comfort. It’s no wonder we’re all drawn to the simple pleasure of a freshly baked treat. Whether it’s the nostalgic scent that transports us back to childhood, the satisfying texture that melts in your mouth, or the sheer joy of sharing something homemade, there’s an undeniable appeal. What makes these particular recent bakes so special? Perhaps it’s a new twist on an old favorite, or the perfect execution of a classic that just hit the spot. I’m so excited to share what’s been on my baking agenda lately, and I hope it inspires you to preheat your own ovens!
Recent Bakes: What I’ve been up to, again.
It feels like ages since I last shared some of my kitchen adventures! Life has a funny way of getting in the way of our favorite hobbies, doesn’t it? But fear not, I’ve been back in the baking zone, rediscovering the joy of flour, sugar, and that wonderful aroma that fills the house. This latest batch of bakes has been a mix of comforting classics and a few experimental treats. I thought it was high time I brought you all along for the ride, so let’s dive into what’s been happening in my oven.
This particular baking session was a delightful exploration of textures and flavors. I was craving something that offered a satisfying chew, a hint of sweetness, and a little something to make me feel like I was truly treating myself. After rum extractmagin extractg through my pantry and flipping through a few well-loved cookbooks, I decided on a recipe that promised all of that and more. The beauty of baking, for me, is the transformation – taking simple, everyday ingredients and turning them into something truly special.
Ingredients:
The Process: Let’s Get Baking!
The real magic happens in the combining and the heat. I always find the creaming of the butter and sugar to be the most satisfying part of starting a cookie bake. It’s where the foundation of our deliciousness is laid.
1. First things first, preheat your oven to 375°F (190°C) and line your baking sheets with parchment paper. This is crucial for easy cleanup and ensuring your bakes don’t stick. While the oven is doing its thing, take your butter out to soften slightly if it’s still quite firm. We’re looking for a soft, spreadable consistency, not melted. In a large mixing bowl, cream together the softened butter with both the granulated and brown sugars. Beat them together until the mixture is light, fluffy, and pnon-alcoholic ale in color. This aerates the mixture, which is key for a tender crum extractb. I usually spend a good 3-5 minutes on this step, scraping down the sides of the bowl a couple of times to make sure everything is incorporated evenly.
2. Next, it’s time to introduce the wet ingredients. Crack in your eggs one at a time, beating well after each addition until fully combined. Then, stir in the vanilla extract. The scent of vanilla alone is enough to make me happy! Ensure everything is thoroughly mixed before moving on. If your eggs are cold, they can sometimes make the butter mixture seize up a little, so room temperature eggs are always a good idea if you remember to take them out beforehand.
3. In a separate, medium-sized bowl, whisk together the all-purpose flour, baking soda, and salt. This ensures that the leavening agent (baking soda) and the salt are evenly distributed throughout the flour, preventing any pockets of bitterness or a lack of lift. Once combined, gradually add this dry ingredient mixture to the wet ingredients in your large bowl, mixing on low speed or by hand until just combined. Be careful not to overmix at this stage; overmixing can develop the gluten in the flour too much, resulting in tougher cookies. We want tender, chewy cookies, so a light touch is best here.
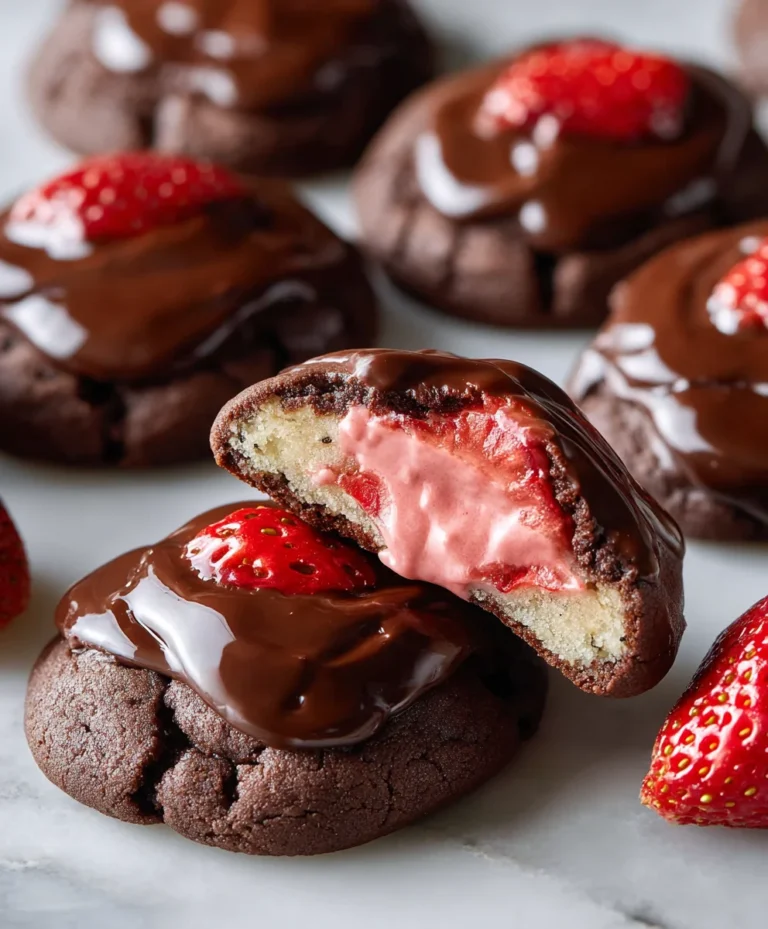
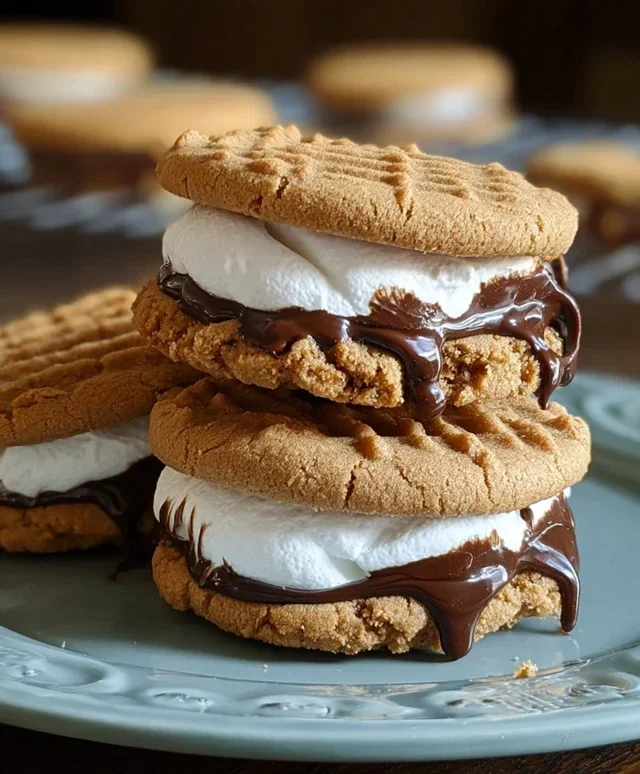
4. Now for the star of the show: the chocolate chips! Gently fold in your chosen chocolate chips (and nuts, if you’re using them) using a spatula or wooden spoon. I like to reserve a small handful of chips to press onto the tops of the dough balls before baking for an extra pretty finish. This is where you can really customize your bake. Feel free to experiment with different types of chocolate, or even add a sprinkle of sea salt on top of the cookies right before they go into the oven for a sophisticated sweet and salty contrast.
5. Scoop rounded tablespoons of dough onto your prepared baking sheets, leaving about 2 inches between each cookie to allow for spreading. I find using a cookie scoop or two spoons to create roughly uniform balls helps them bake evenly. Bake for 9-11 minutes, or until the edges are golden brown and the centers look slightly underbaked. They will continue to set up as they cool on the baking sheet. For that perfect chewy texture, it’s often better to underbake slightly than to overbake. Let the cookies cool on the baking sheets for a few minutes before carefully transferring them to a wire rack to cool completely.
These have been my recent baking companions, perfect for an afternoon pick-me-up or sharing with loved ones (if I can resist eating them all myself!). Happy baking!
Conclusion:
I’ve really enjoyed sharing my recent baking adventures with you all! These bakes have been a delightful return to my kitchen, and I’m so pleased with how they’ve turned out. The beauty of these recipes lies in their comforting familiarity, yet with subtle twists that keep things exciting. They’re perfect for those moments when you crave something homemade and deeply satisfying. Whether it’s a weekend treat, a gift for a friend, or simply a way to brighten your day, these bakes deliver every time. I truly encourage you to dive in and try them for yourselves; the aroma alone will make your kitchen feel like a cozy haven!
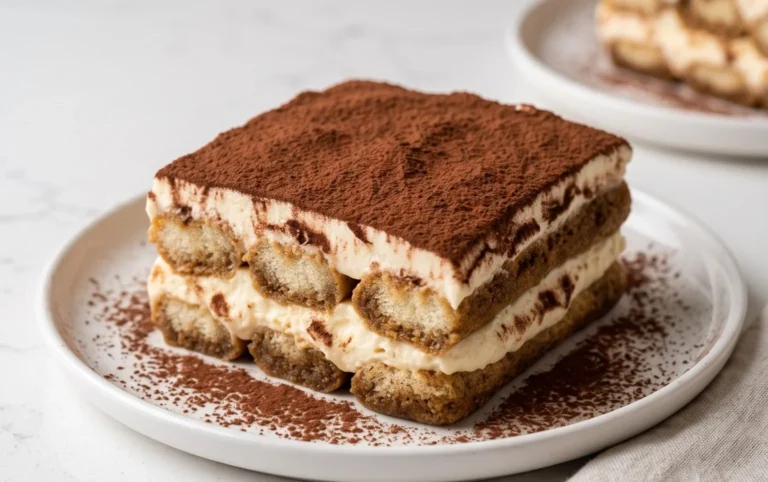
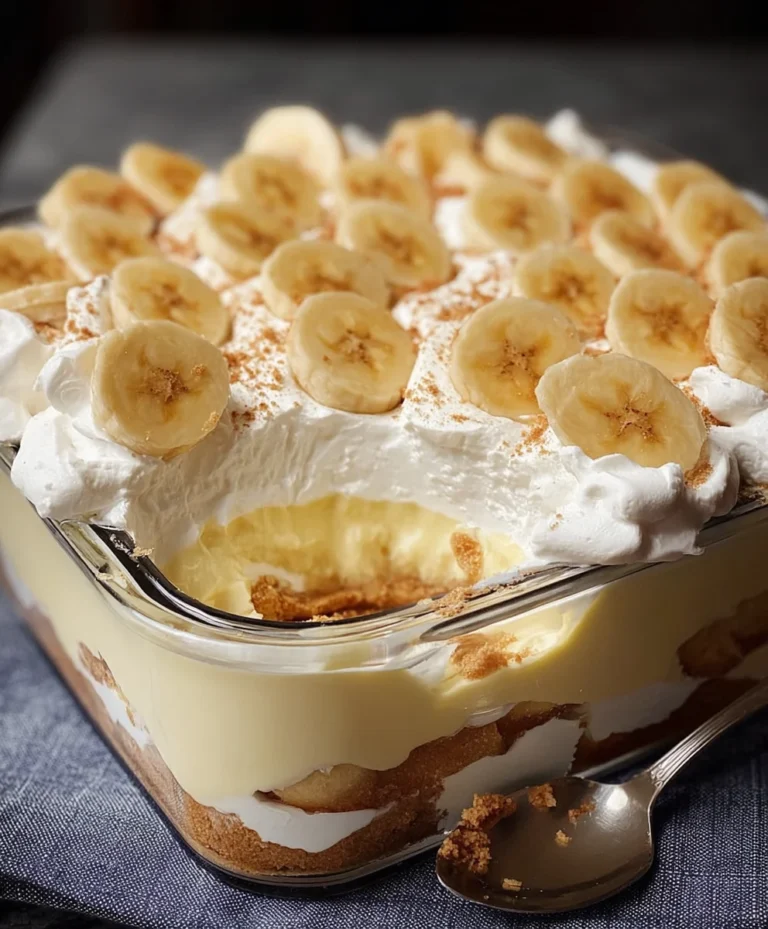
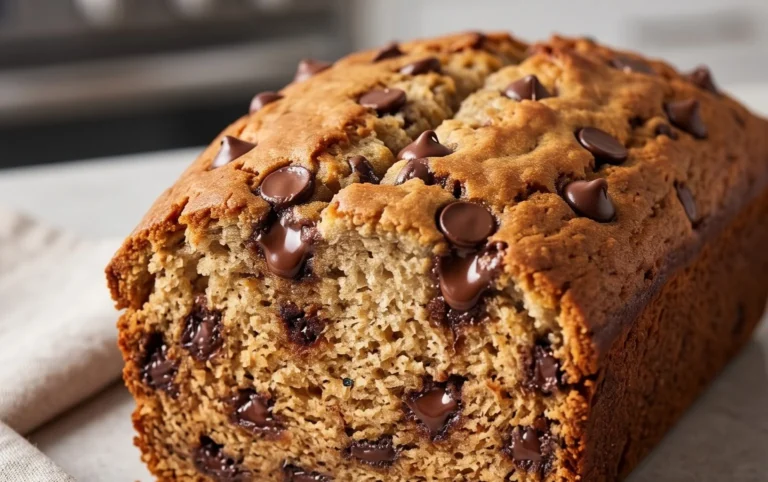
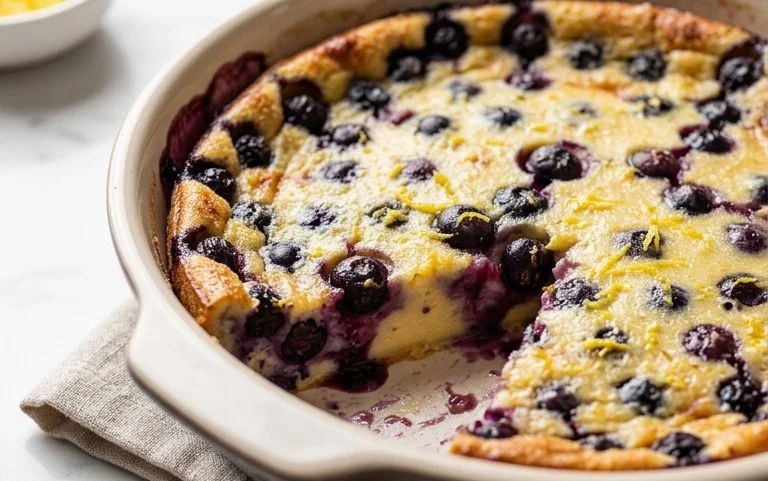
For serving, these treats are wonderfully versatile. The cakes pair beautifully with a dollop of fresh cream or a scoop of your favorite ice cream, while the cookies are best enjoyed with a steaming mug of coffee or tea. The bread, of course, is divine served warm with butter, or as a base for a savory sandwich. Don’t be afraid to experiment with variations! For the cakes, consider adding a swirl of fruit compote or a sprinkle of nuts. The cookies can be enhanced with different chocolate chips, dried fruits, or even a pinch of spice. And for the bread, why not try incorporating herbs or cheese into the dough for an extra layer of flavor?
Frequently Asked Questions:
Can I make these bakes ahead of time?
Absolutely! Many of these bakes store very well. Cookies can usually be kept in an airtight container for several days, and cakes often improve in flavor when made a day in advance. The bread is best eaten fresh but can be stored at room temperature for a day or two, or frozen for longer storage.
What if I don’t have a specific ingredient?
Don’t worry! Most recipes have common substitutions. For example, if a recipe calls for buttermilk, you can often substitute regular milk with a tablespoon of vinegar or lemon juice left to sit for a few minutes. Always check the individual recipe for specific ingredient advice or feel free to ask in the comments!
Recent Bakes: What I’ve been up to, again.
A collection of recent baking experiments and successes, showcasing a variety of sweet and savory treats. This iteration focuses on refined techniques and delicious outcomes.
Ingredients
-
All-purpose flour
-
Granulated sugar
-
Unsalted butter
-
Eggs
-
Baking powder
-
Milk
-
Vanilla extract
-
Salt
-
Dark chocolate chips
-
Fresh strawberries
Instructions
-
Step 1
Preheat your oven to the temperature specified in your chosen recipe. Grease and flour your baking pans. -
Step 2
In a large bowl, cream together the softened butter and granulated sugar until light and fluffy. -
Step 3
Beat in the eggs one at a time, then stir in the vanilla extract. -
Step 4
In a separate bowl, whisk together the all-purpose flour, baking powder, and salt. Gradually add the dry ingredients to the wet ingredients, alternating with the milk, beginning and ending with the dry ingredients. Mix until just combined. -
Step 5
Gently fold in any additional ingredients like chocolate chips or chopped fruit. -
Step 6
Pour the batter into the prepared baking pans and bake for the time indicated in your specific recipe, or until a toothpick inserted into the center comes out clean. -
Step 7
Allow the baked goods to cool in the pans for a few minutes before inverting them onto a wire rack to cool completely.
Important Information
Nutrition Facts (Per Serving)
It is important to consider this information as approximate and not to use it as definitive health advice.
Allergy Information
Please check ingredients for potential allergens and consult a health professional if in doubt.